

I would think that any of you who have taught Bible class would agree that Keeping Bible class materials organized and easy to access is a problem. I don’t have all the answers but I do have a suggestion that might help. The younger the student, the more of a mess is created. The baby class needs objects for the students to hold — one for each child. The pre-school class still needs objects to touch and handle but are ready for a little bit more 2D visuals — lots of 2D visuals. It’s these two classes that are the most challenging to keep organized.
When I teach the pre-school class, I like to follow a 2 year plan. Each lesson is taught for one month. There is lots of repetition, hands on activities, songs, etc. I store each lesson in an “under the bed” type container. This allows larger visual to be stored and usually offers enough head room for the bulkier items. Storing the storage containers has been a challenge because if you follow the 2 year plan, then you have 24 storage containers. My sweet husband made a great storage system out of pvc pipe for these containers that not only keeps things organized but easy to access. Below are pictures of the storage system as well as pictures of the contents of one of the storage boxes.
PVC Storage System. The missing box is the one that was currently being used in class when the picture was taken. The system is currently being stored in an unused classroom but could be stored in a resource room or even the classroom itself. It can be configured differently as well. If you made it 4 boxes high and 6 boxes wide, you could add a wooden shelf to the top and have extra storage for some of those super bulky items that always seem to be needed to teach this age.
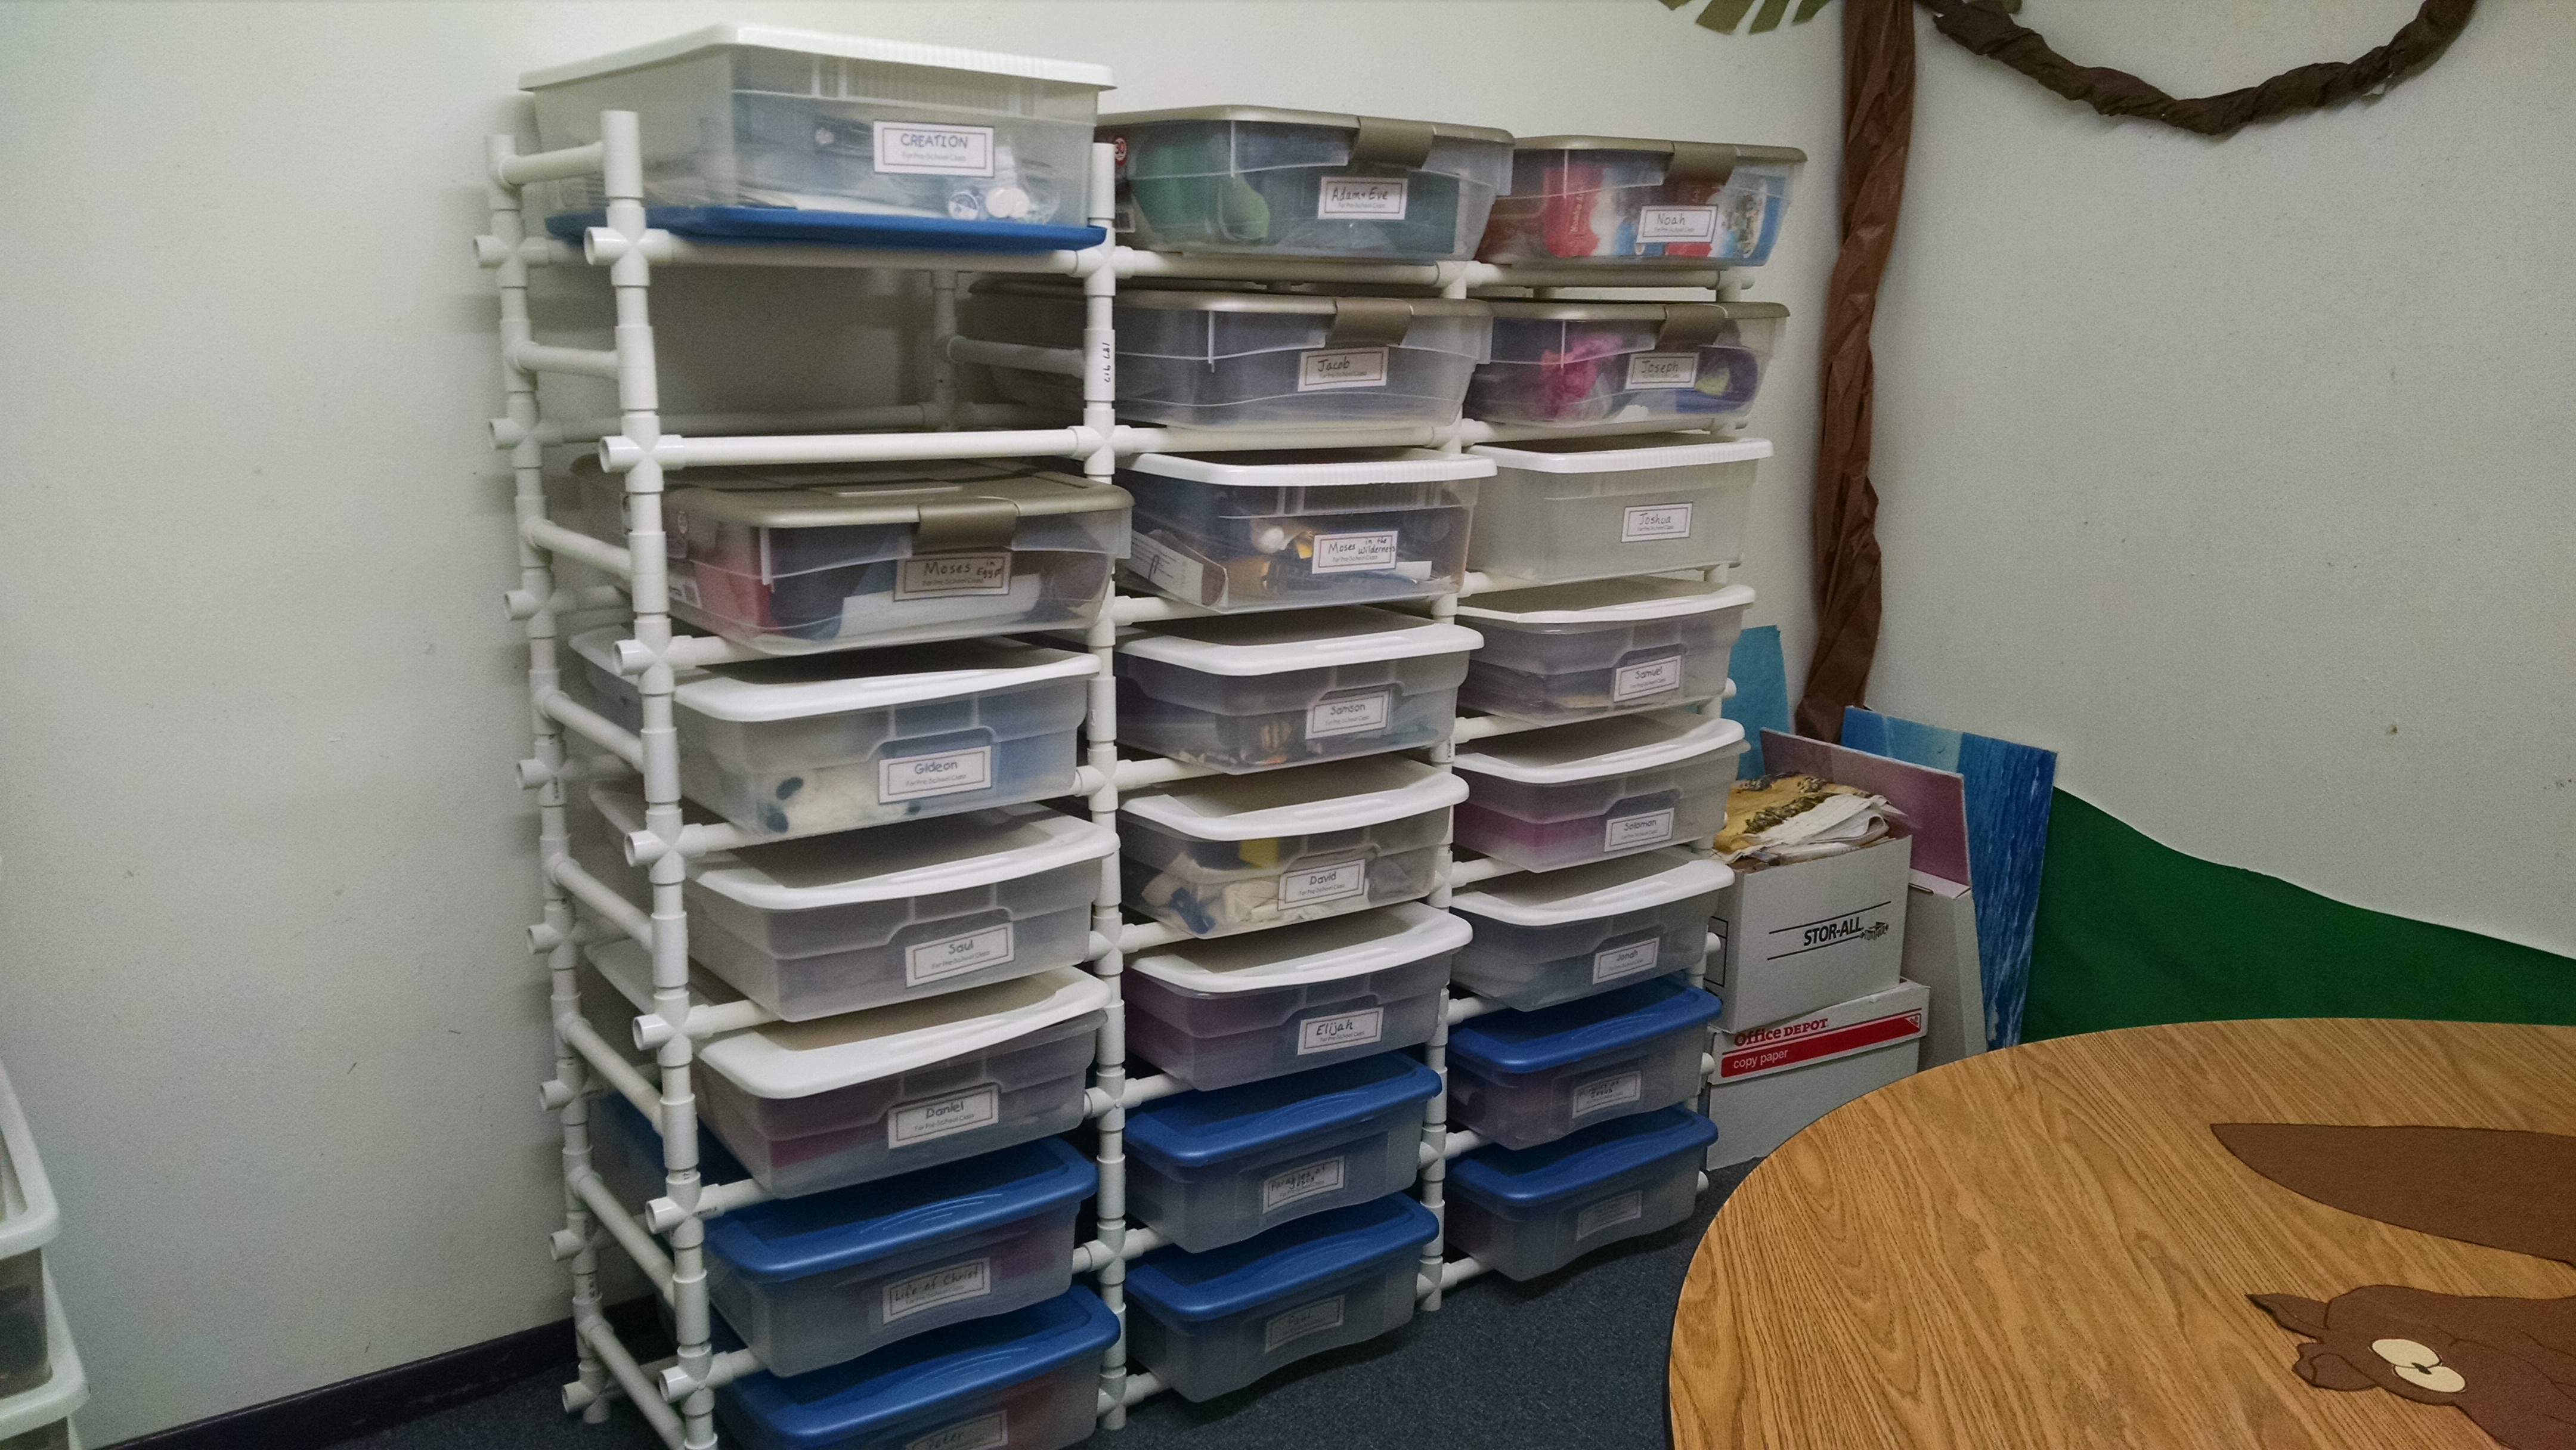
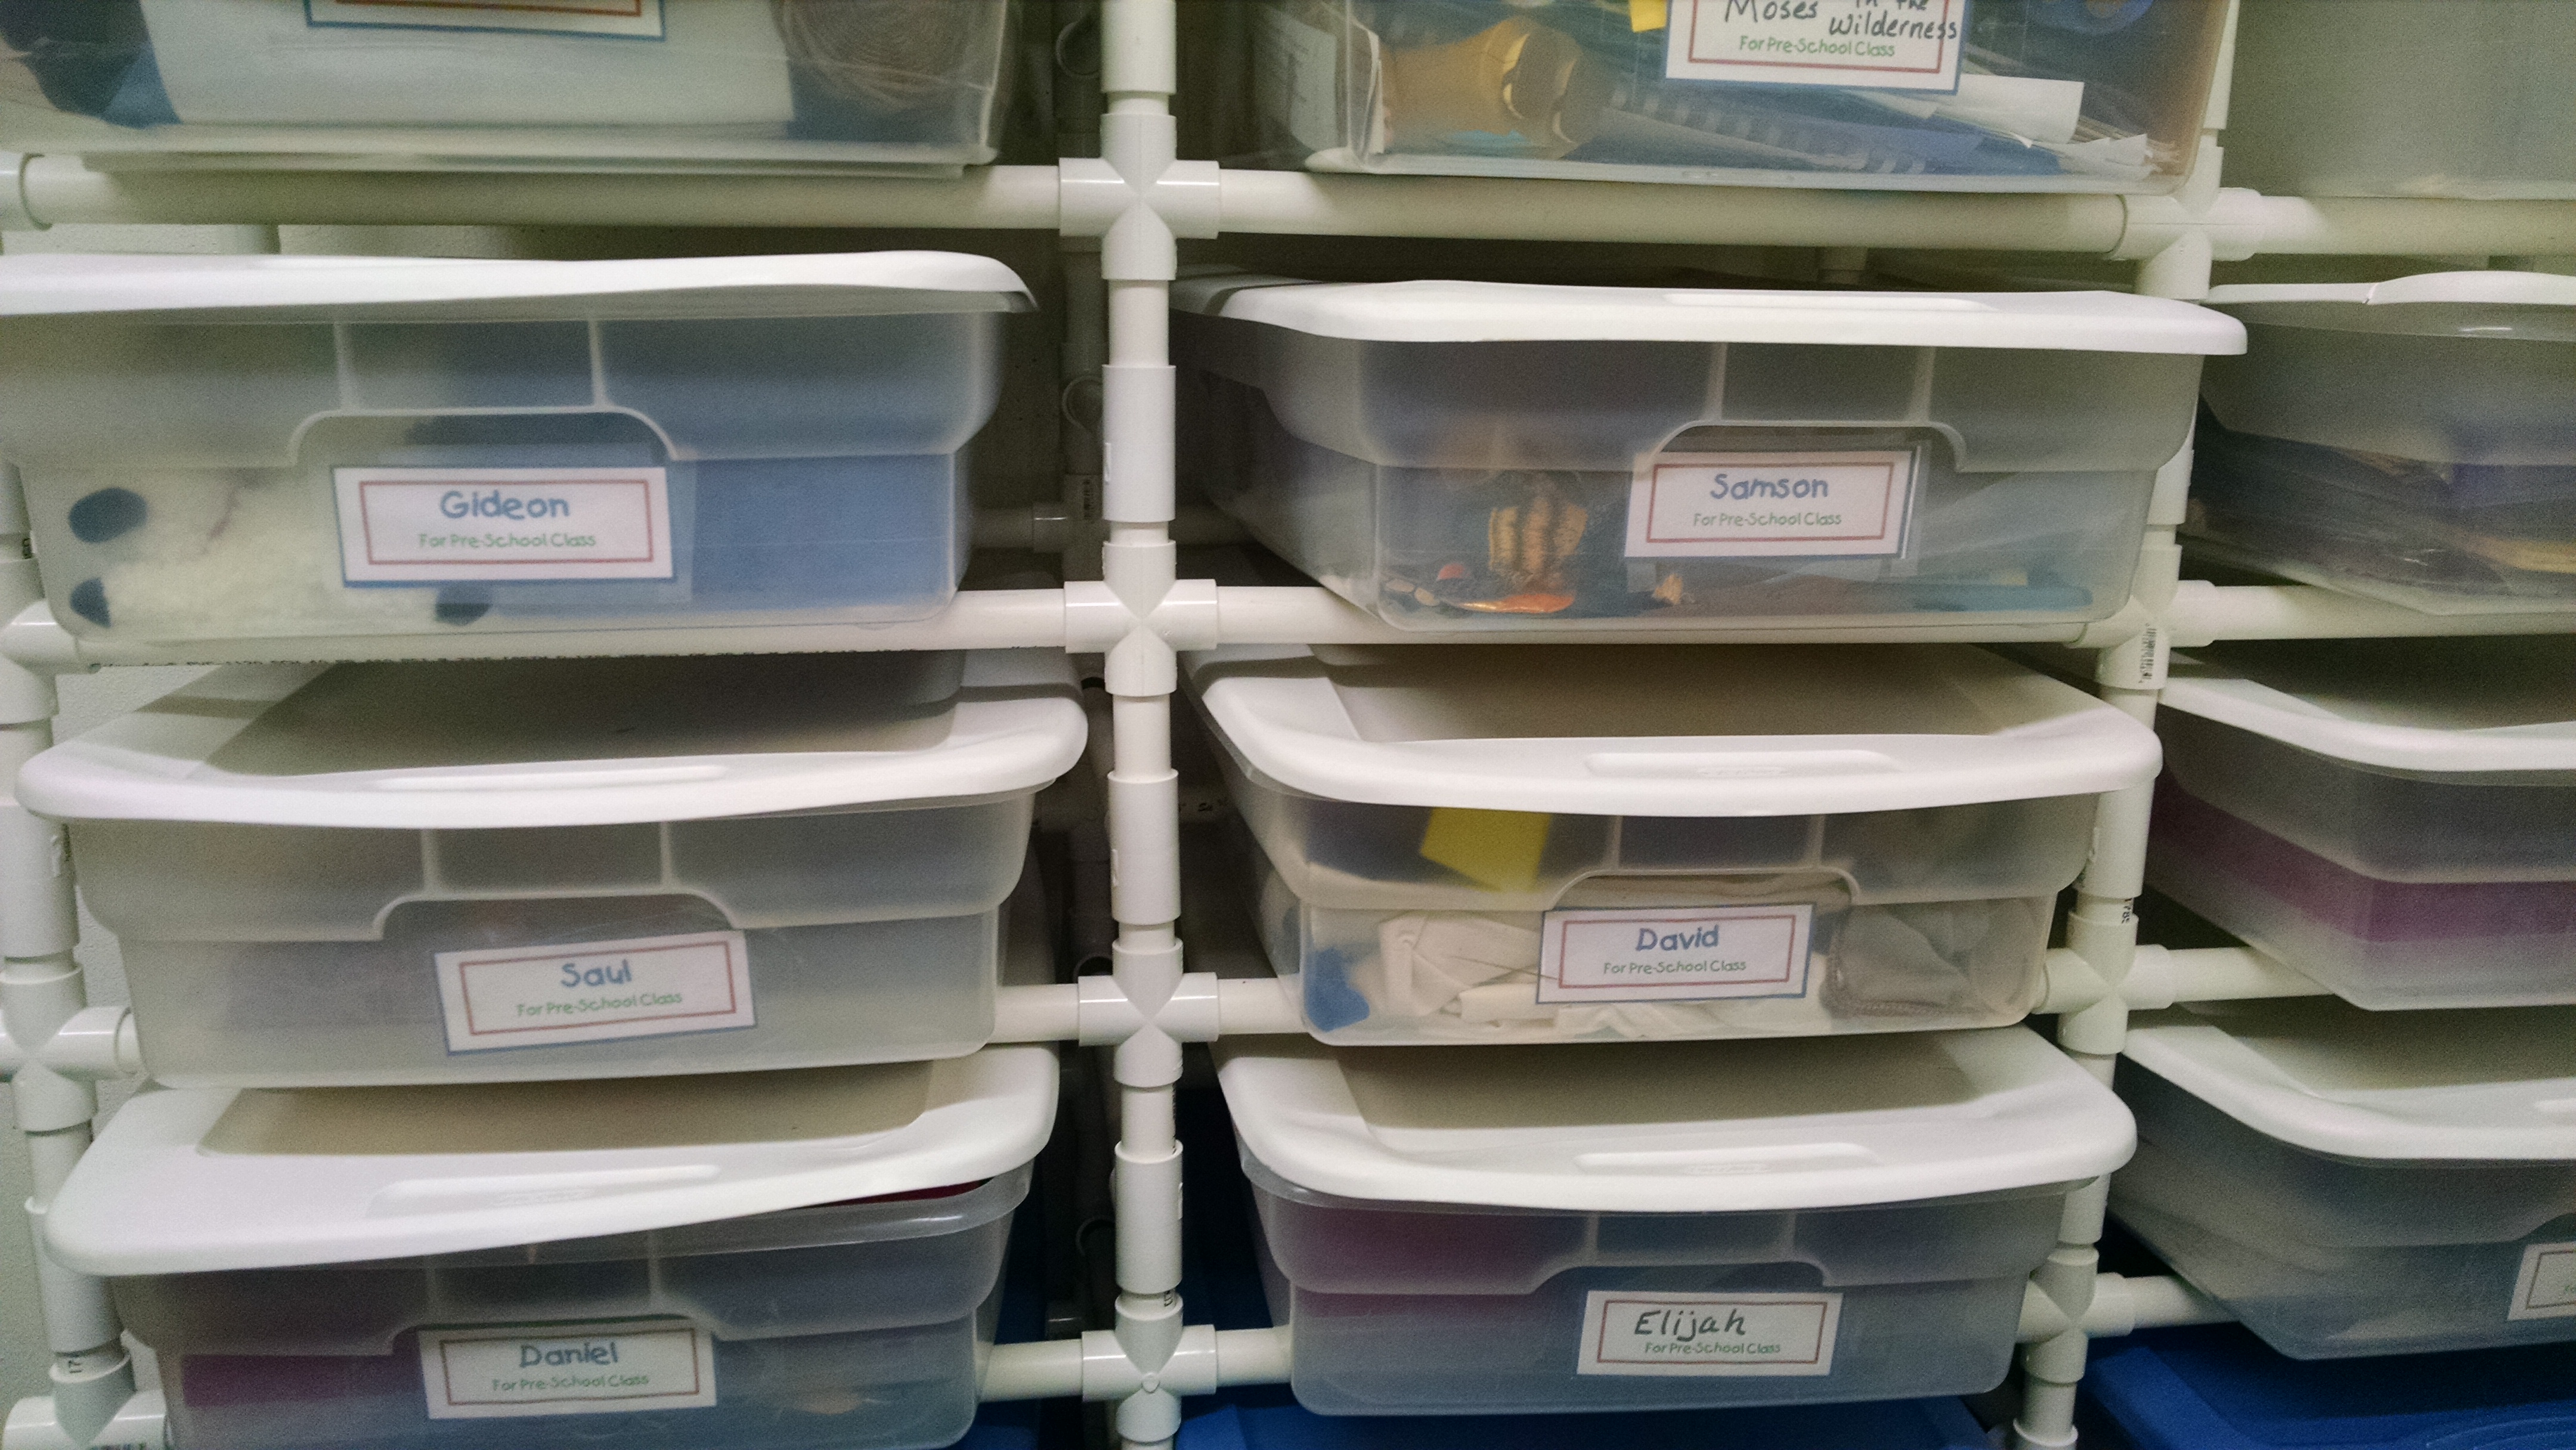
Each box is labeled with the lesson name and the age level it is to be used for. It’s important that anyone who might teach the class understand how things are organized so they can quickly and easily access what they need as well as quickly and easily put things back where they belong.
Each box should have enough activities and visual aids to teach an active class. Some of these boxes are fuller than others because some lessons are easier to find visuals and activities for than others. David happens to be one of those easier lessons. This is what the box looks like with all its supplies inside.
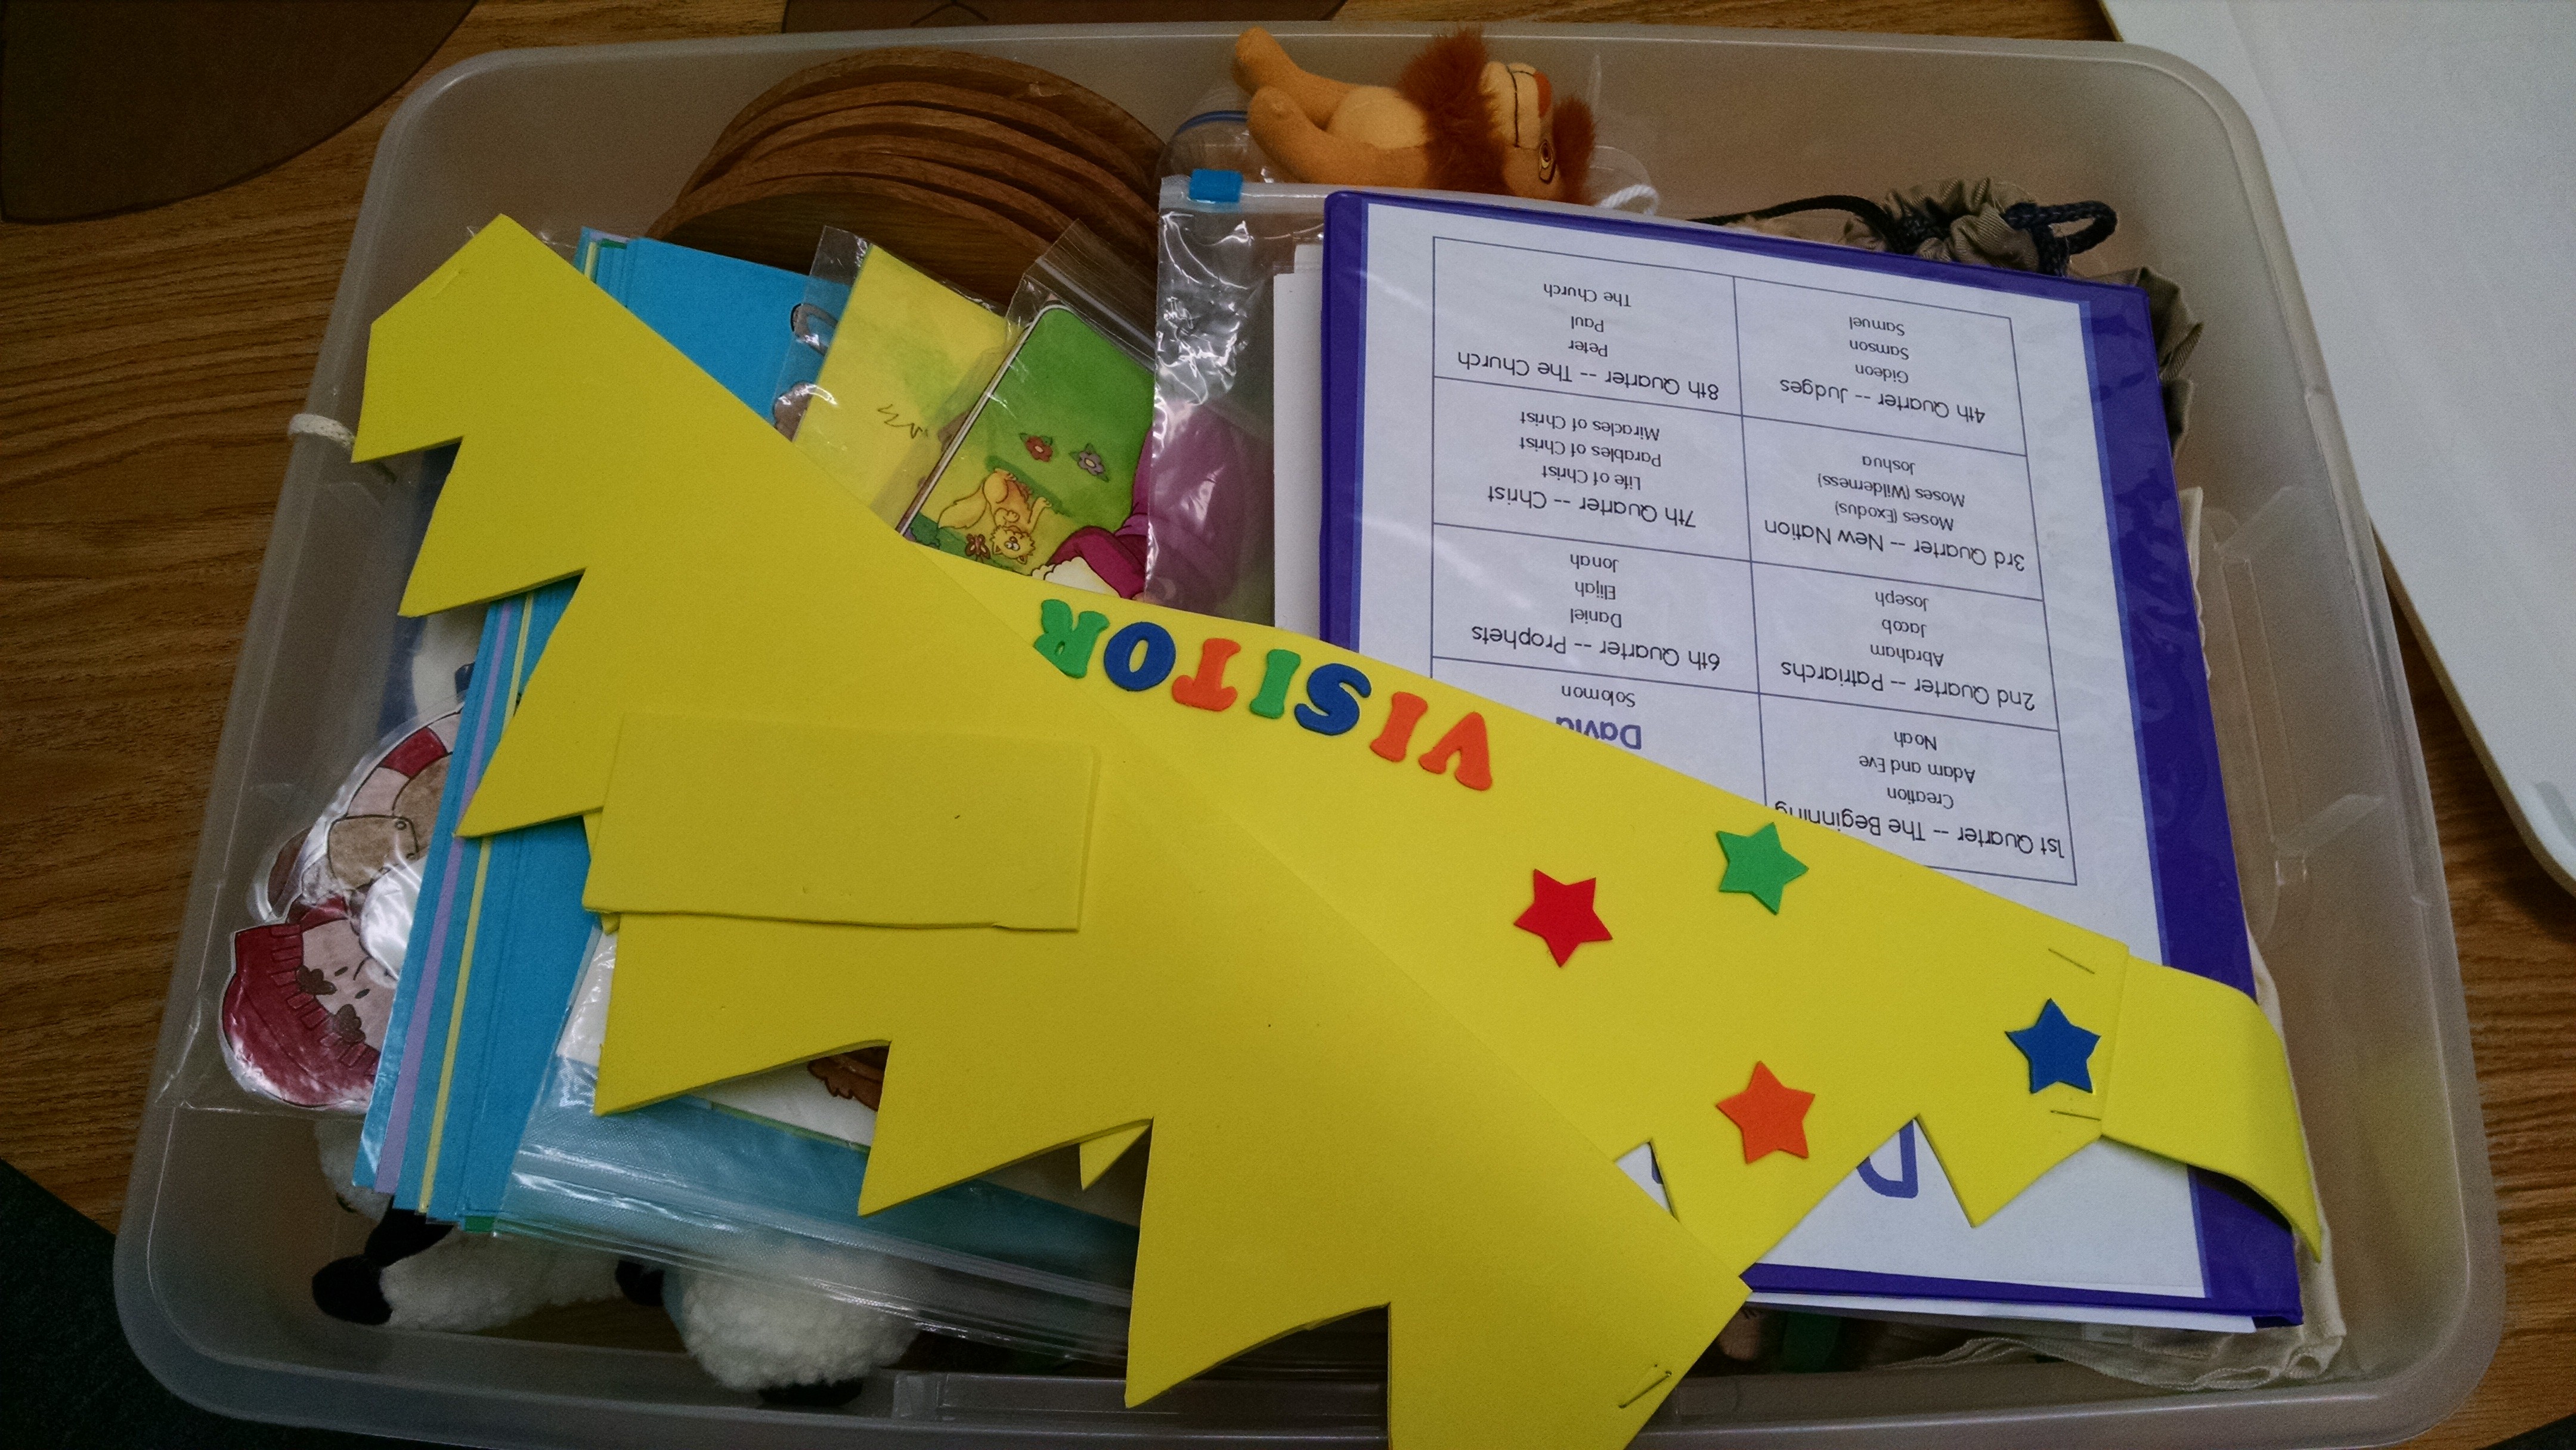
Each box contains a notebook that holds all the paperwork required to teach the lesson. The notebooks are all the same color so you can see at a glance that this notebook goes with these boxes. The notebooks are the ones with front and back pockets as well as pockets on inside front and back covers. The front cover has the title and age like the box. It also has the list of all 24 lessons with the current one highlighted. This can be useful if the storage system is stored separately from the classroom.
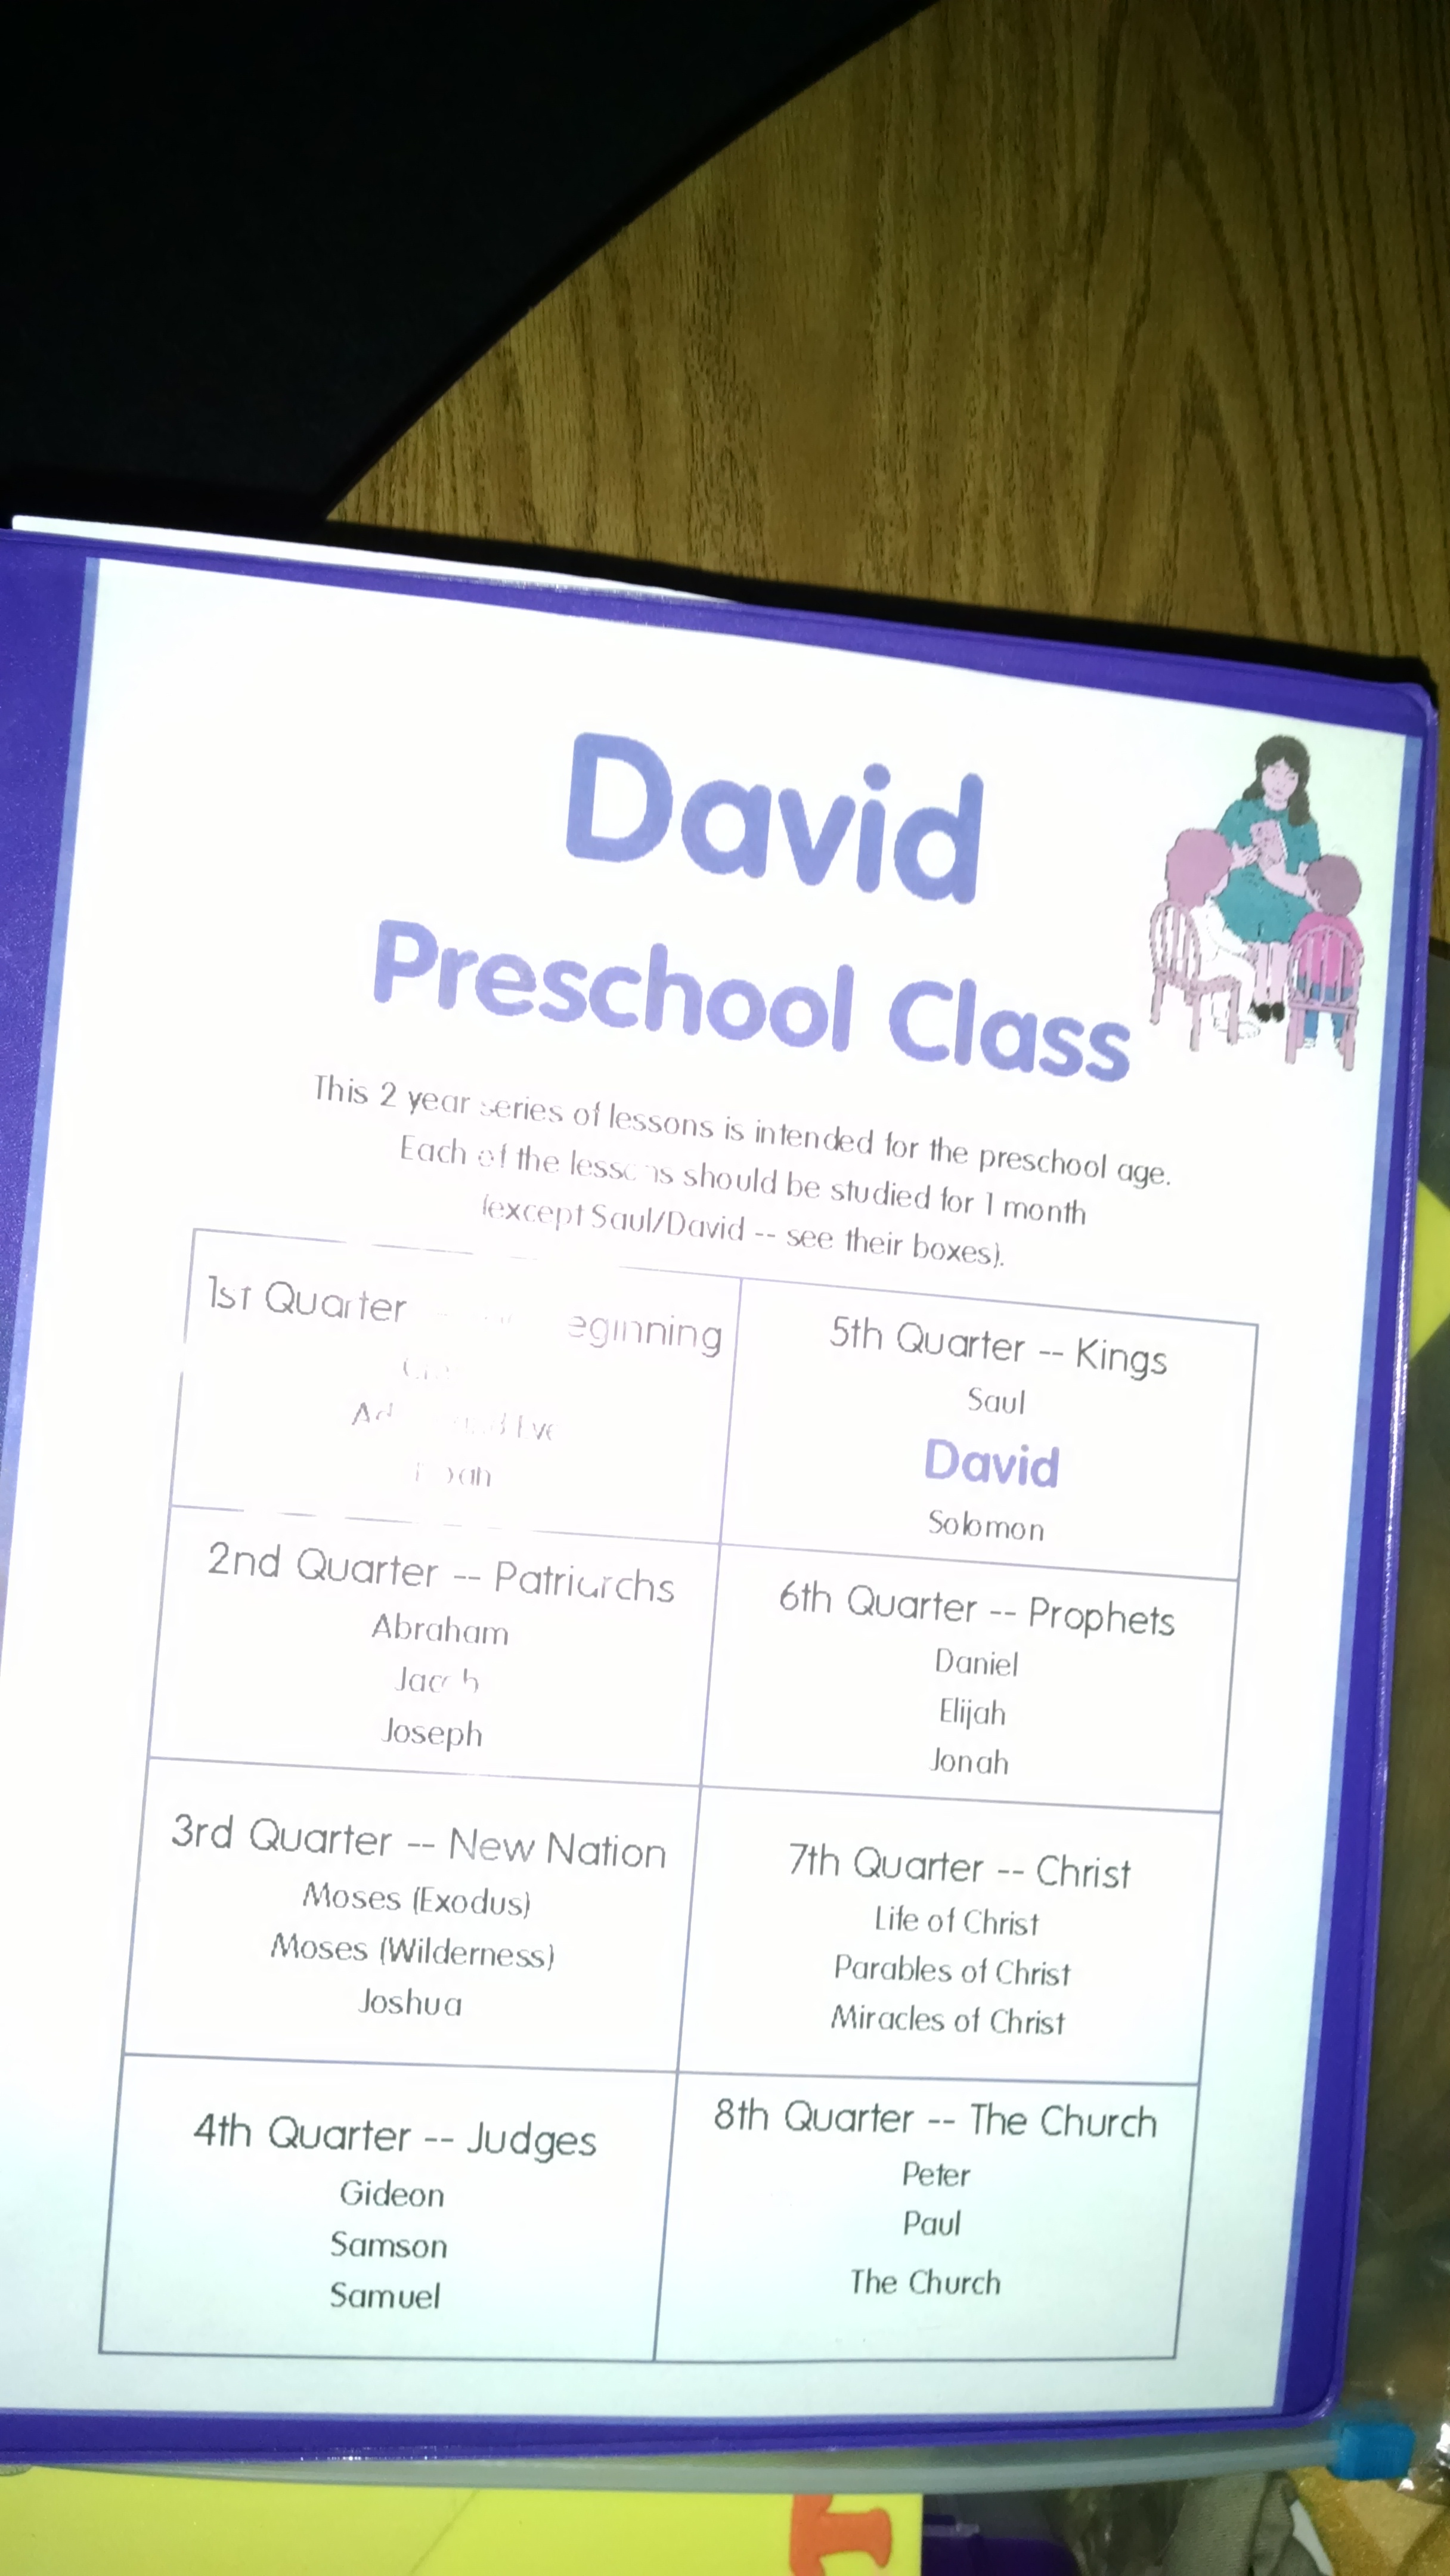
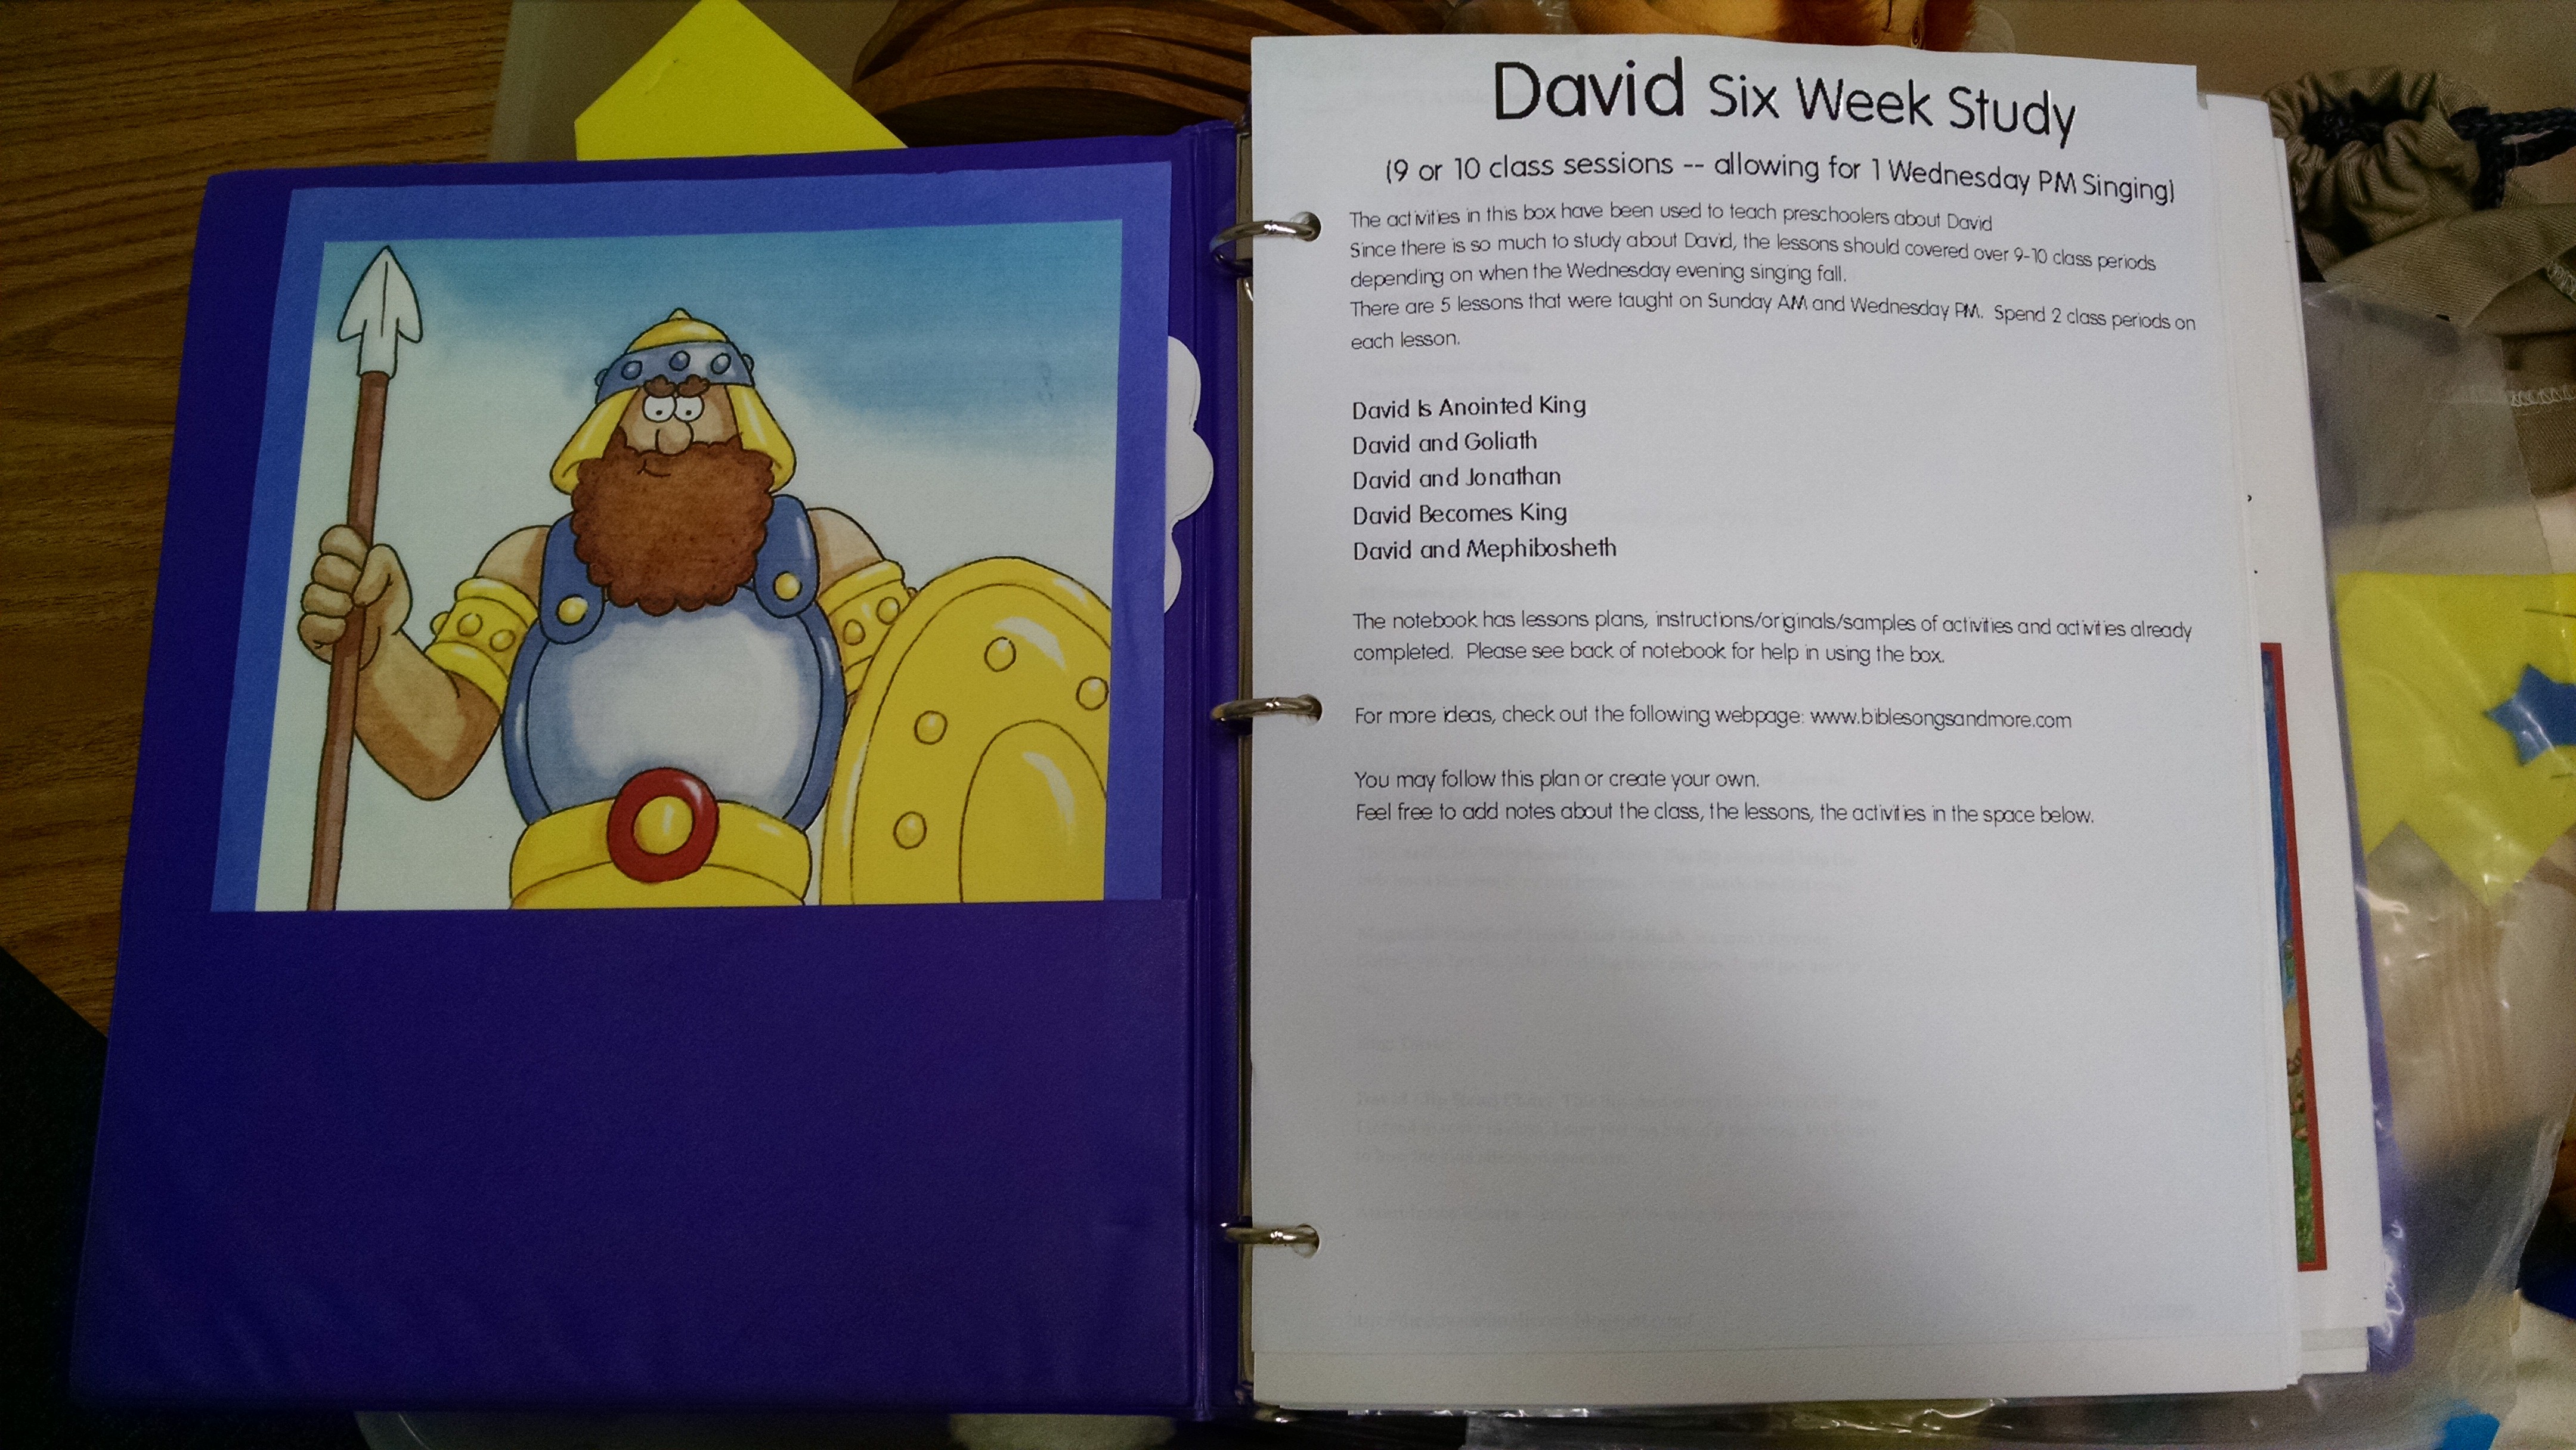
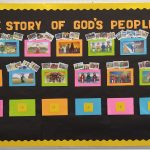
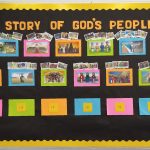
The first page has a summary of what should be in the box. This isn’t necessarily a complete list but it gives an idea of what is available. It might would have been better to leave room to add additional items as things are added to the box. The picture on the left was used as part of a door decoration. It is an enlargement of the pictures found in the Bible cards for those of you blessed enough to have bought them before they went out of print.
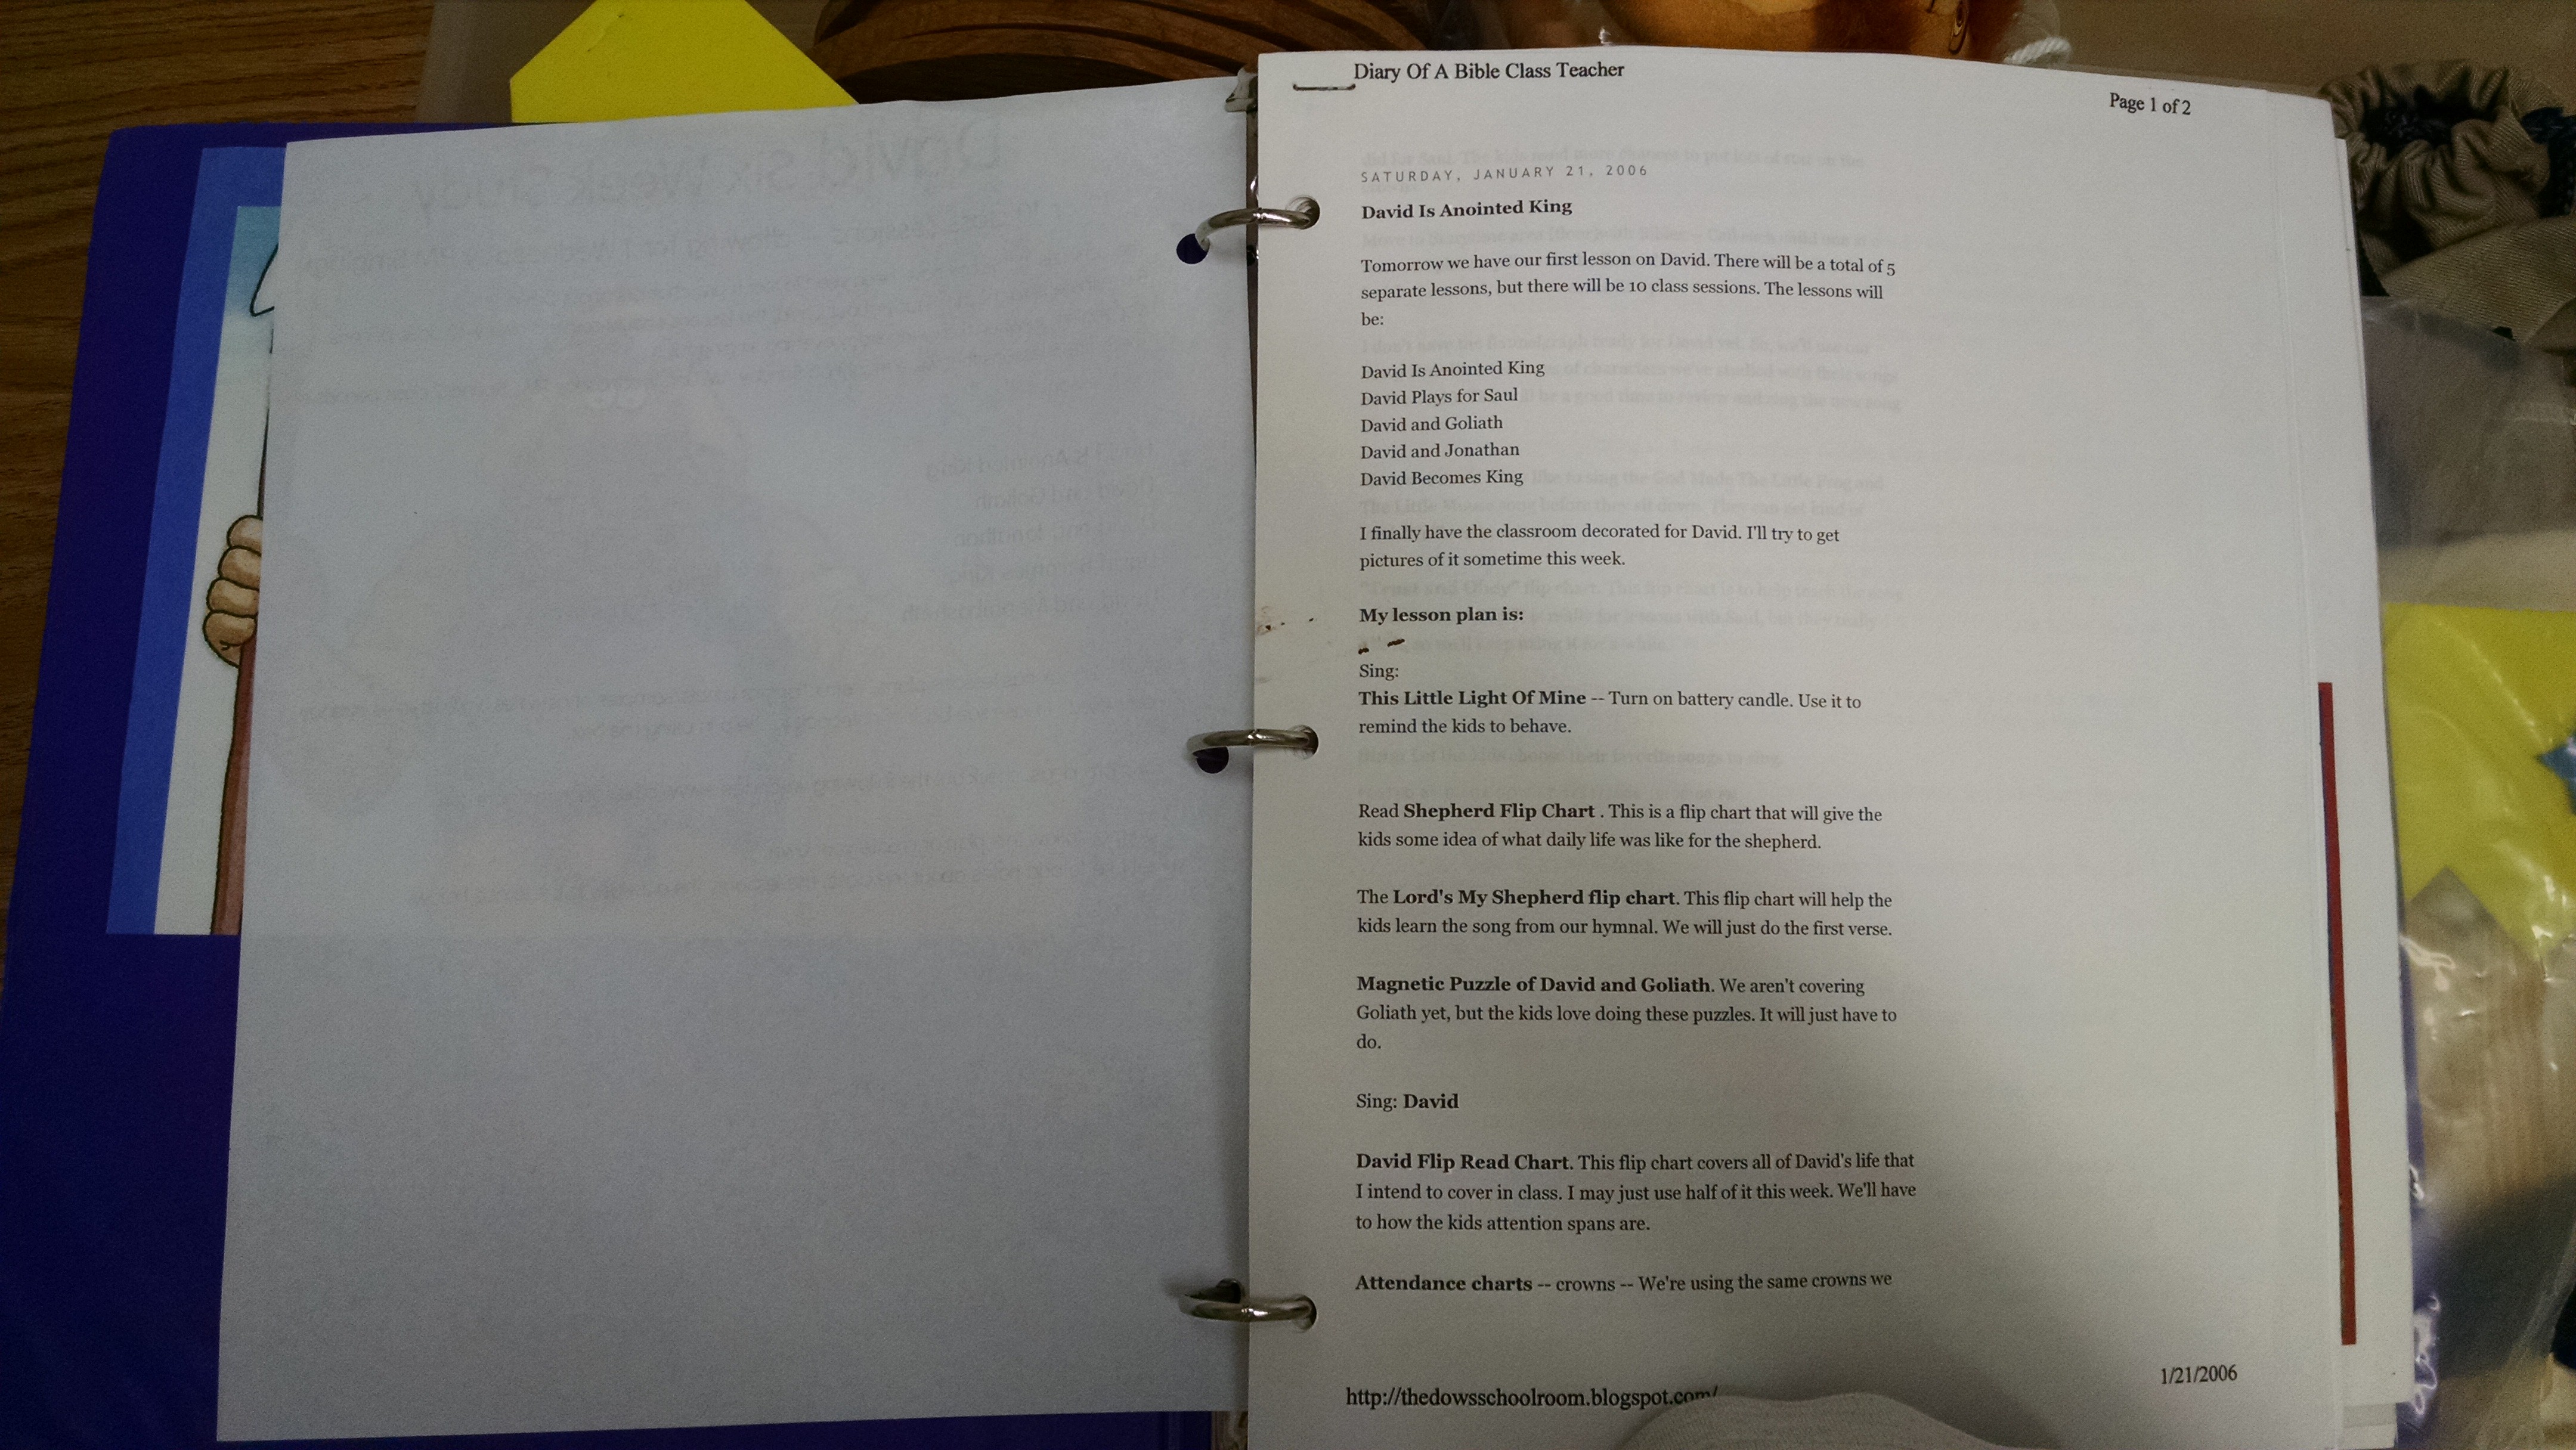
These lessons plans were printed directly from my website. They could also be a form that you fill out by hand or even just a list of activities in the order you plan to do them. If another teach creates a different lesson plan for this lesson, add it to the notebook. The more input from others the better.
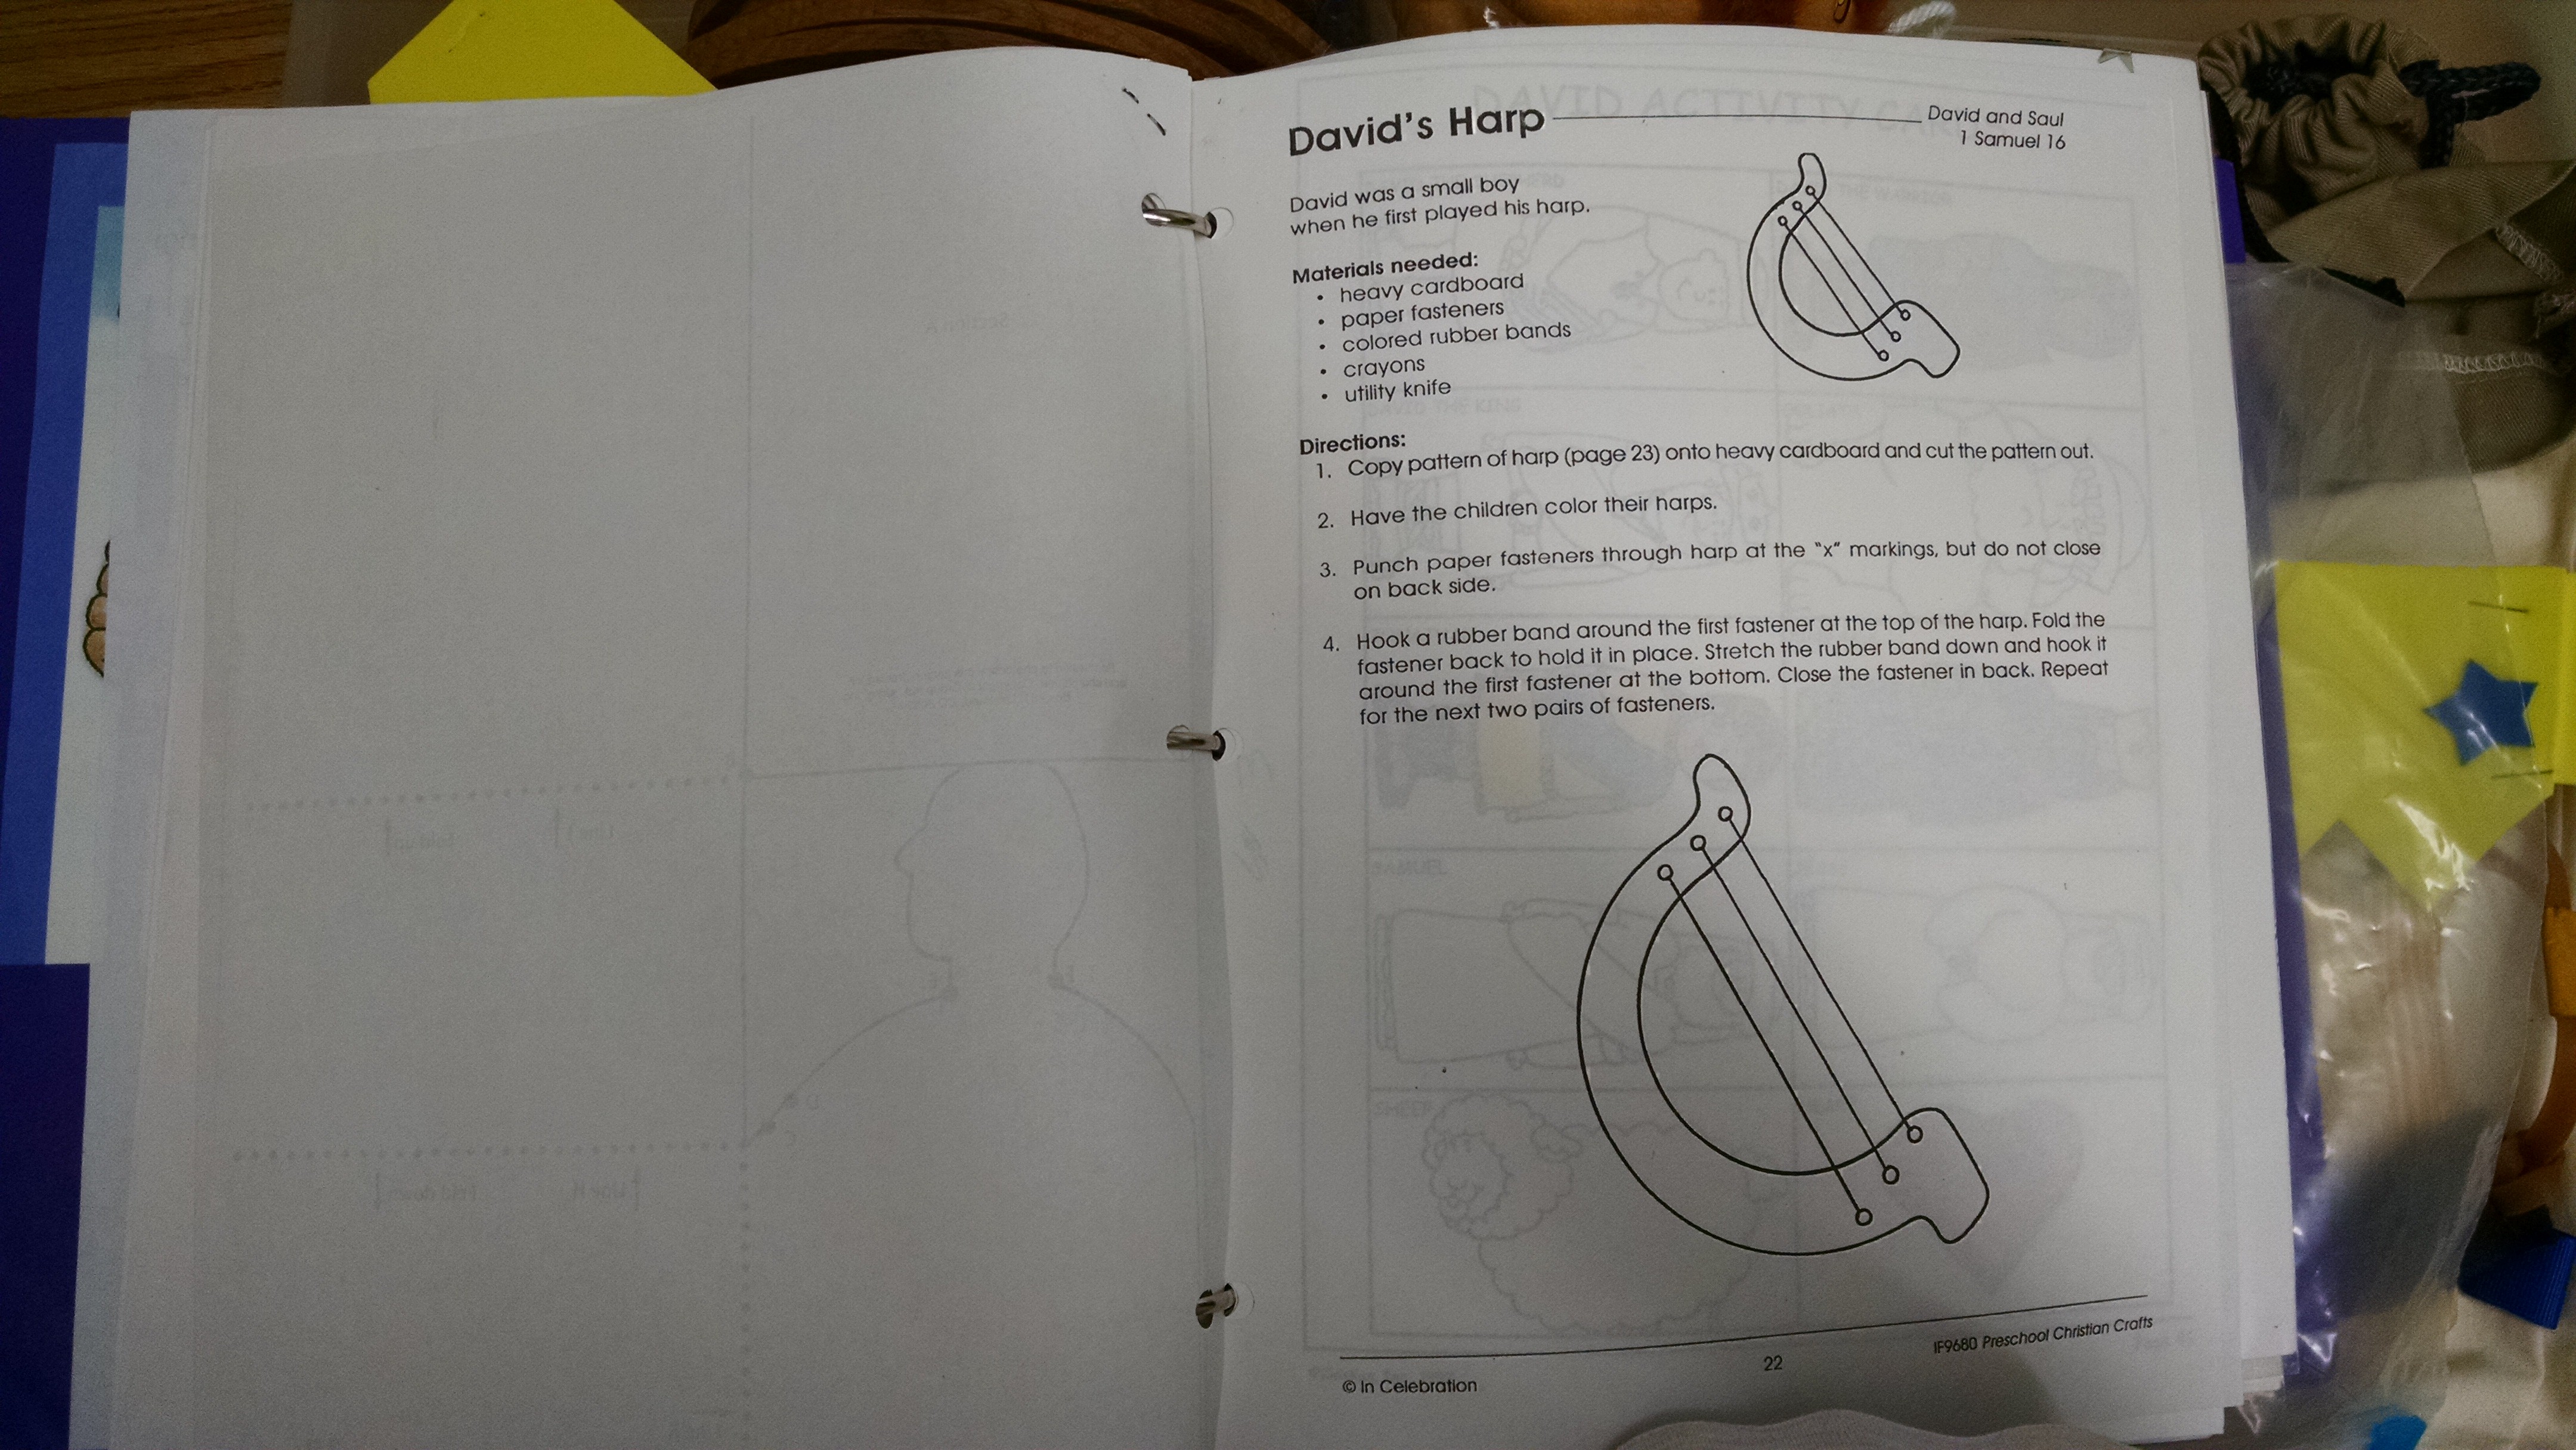
Add any activity/coloring pages you used in the lesson. This isn’t a place to add every activity/coloring page found on the internet. That’s what Pinterest is for. Just the ones you or another teacher used. Don’t clutter the notebook with unnecessary items.
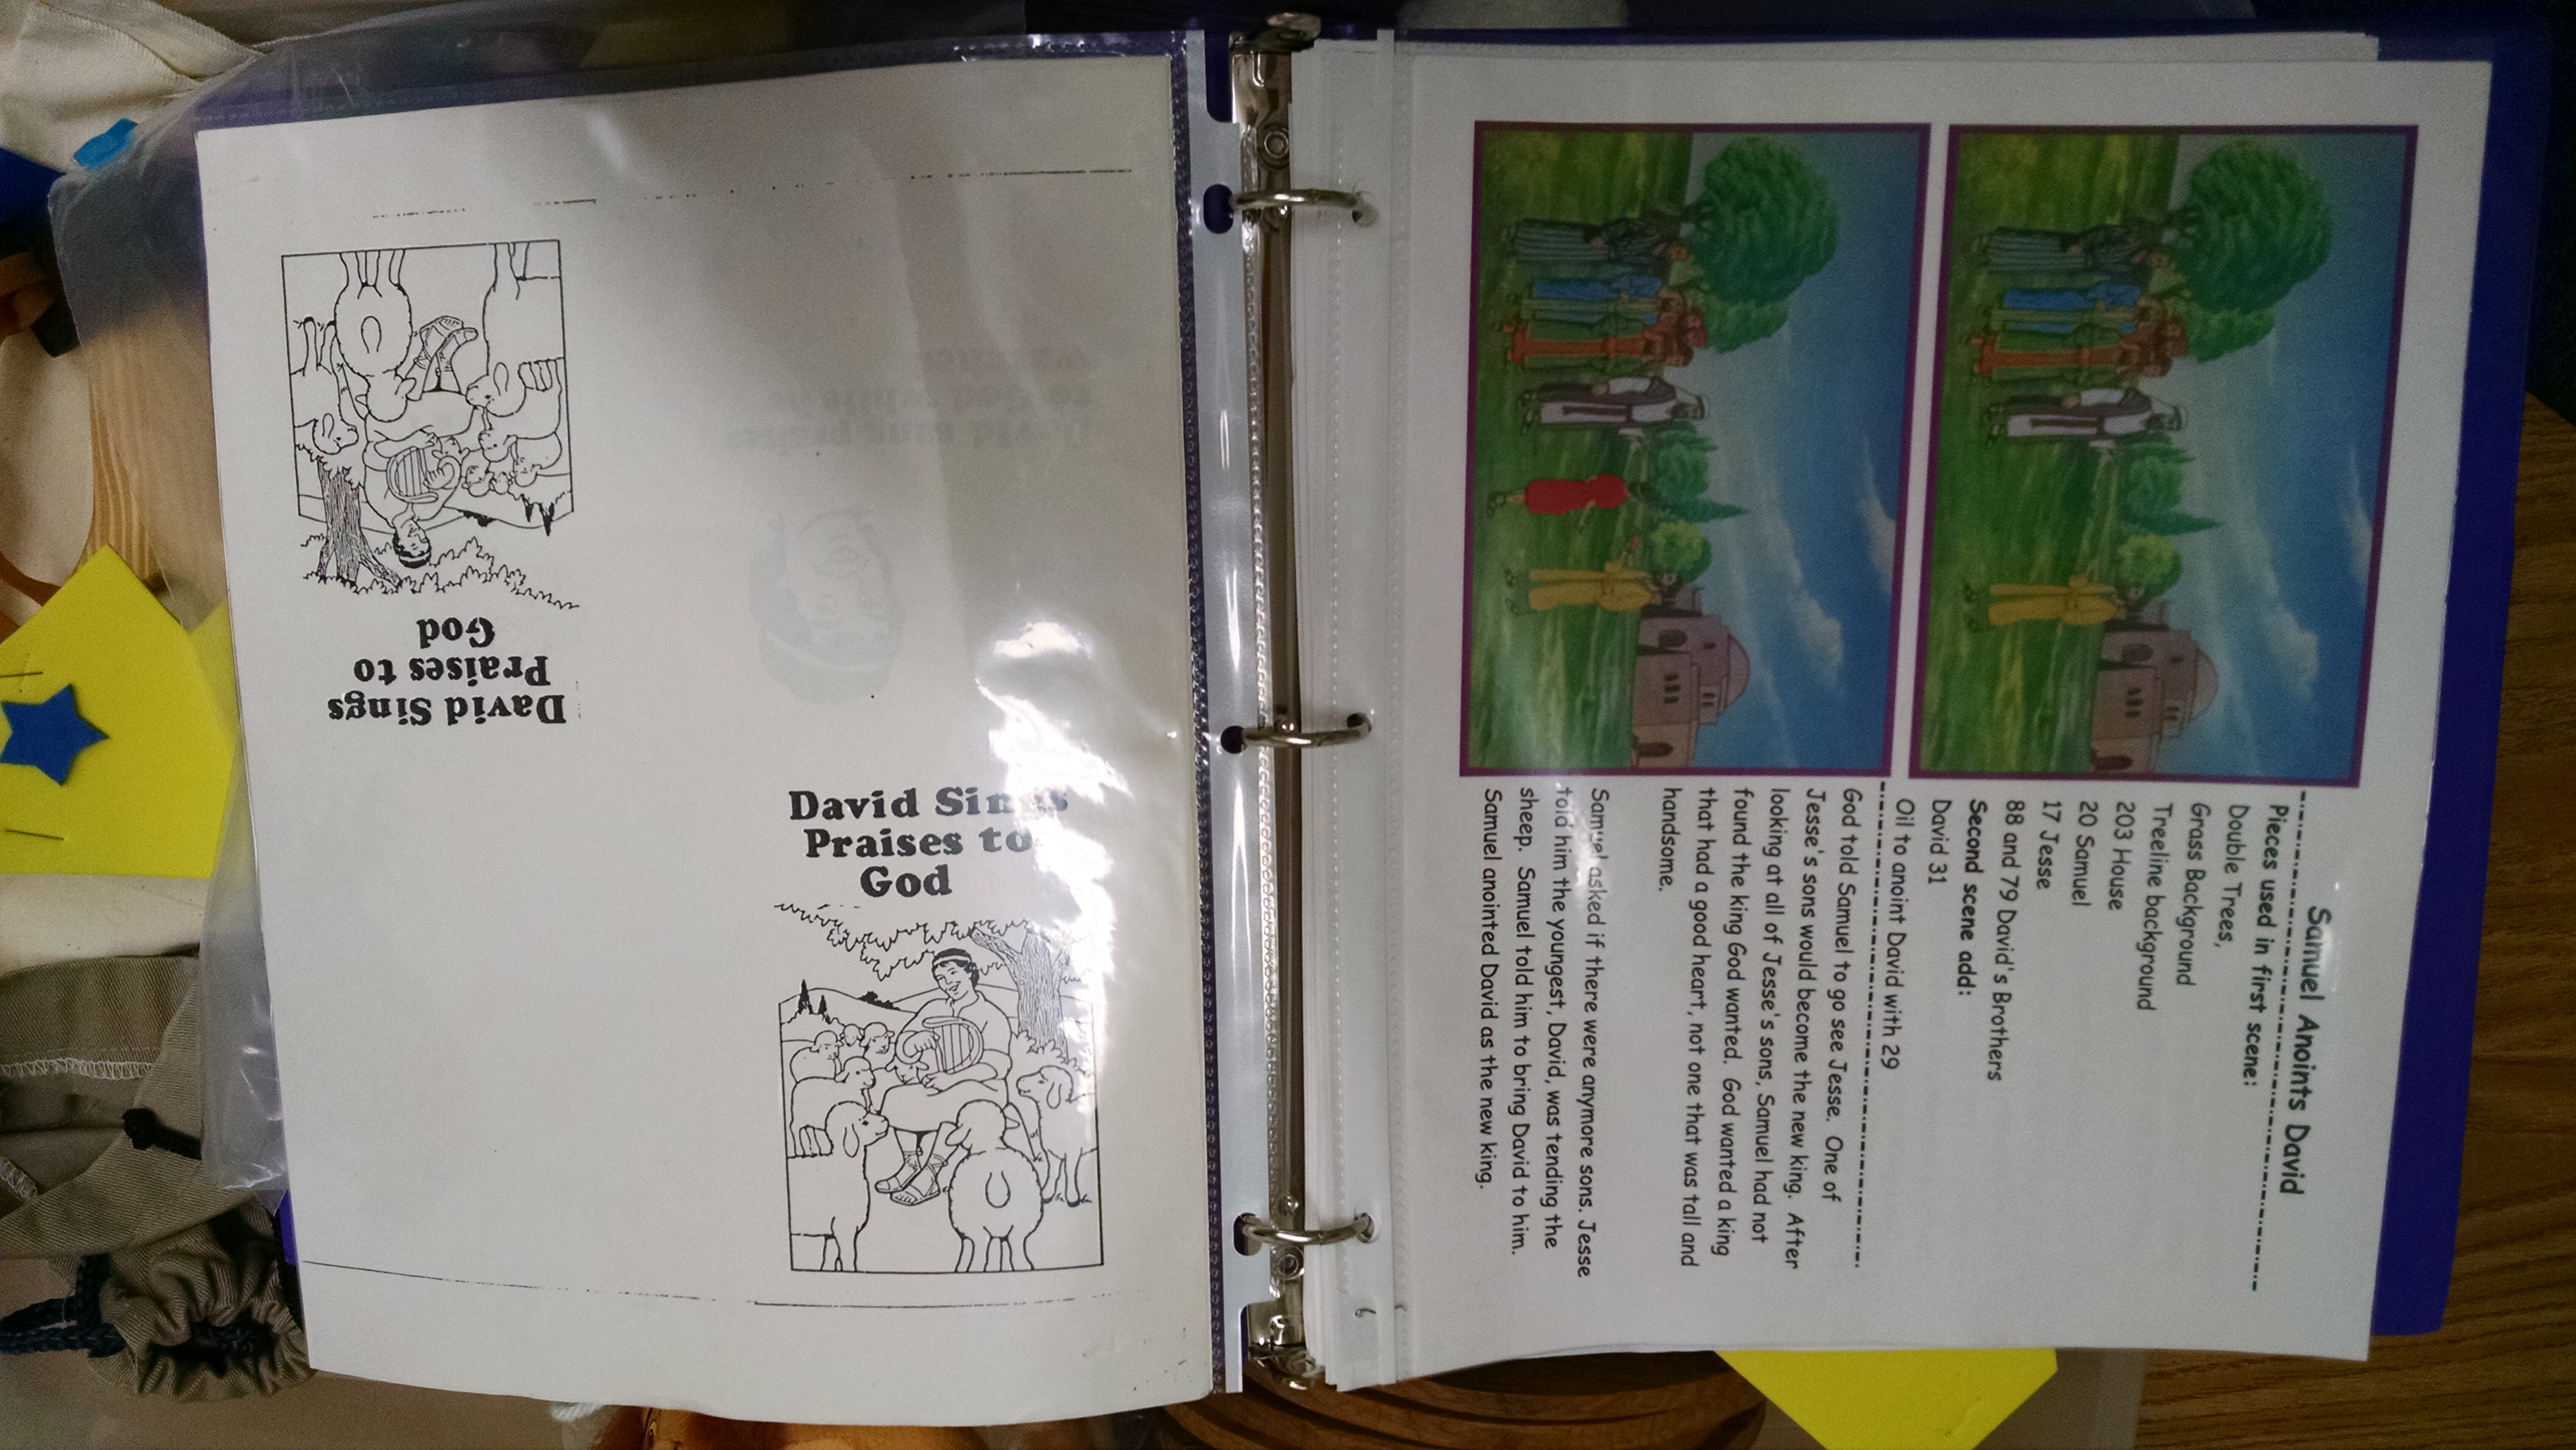
The masters included in the notebook were mostly ones that I or another teacher created. They would be masters for flip charts, flannel graph cheat sheets, popup books, etc. Store them in plastic sheets to protect them. I like to store all the masters for one activity in one plastic sheet.
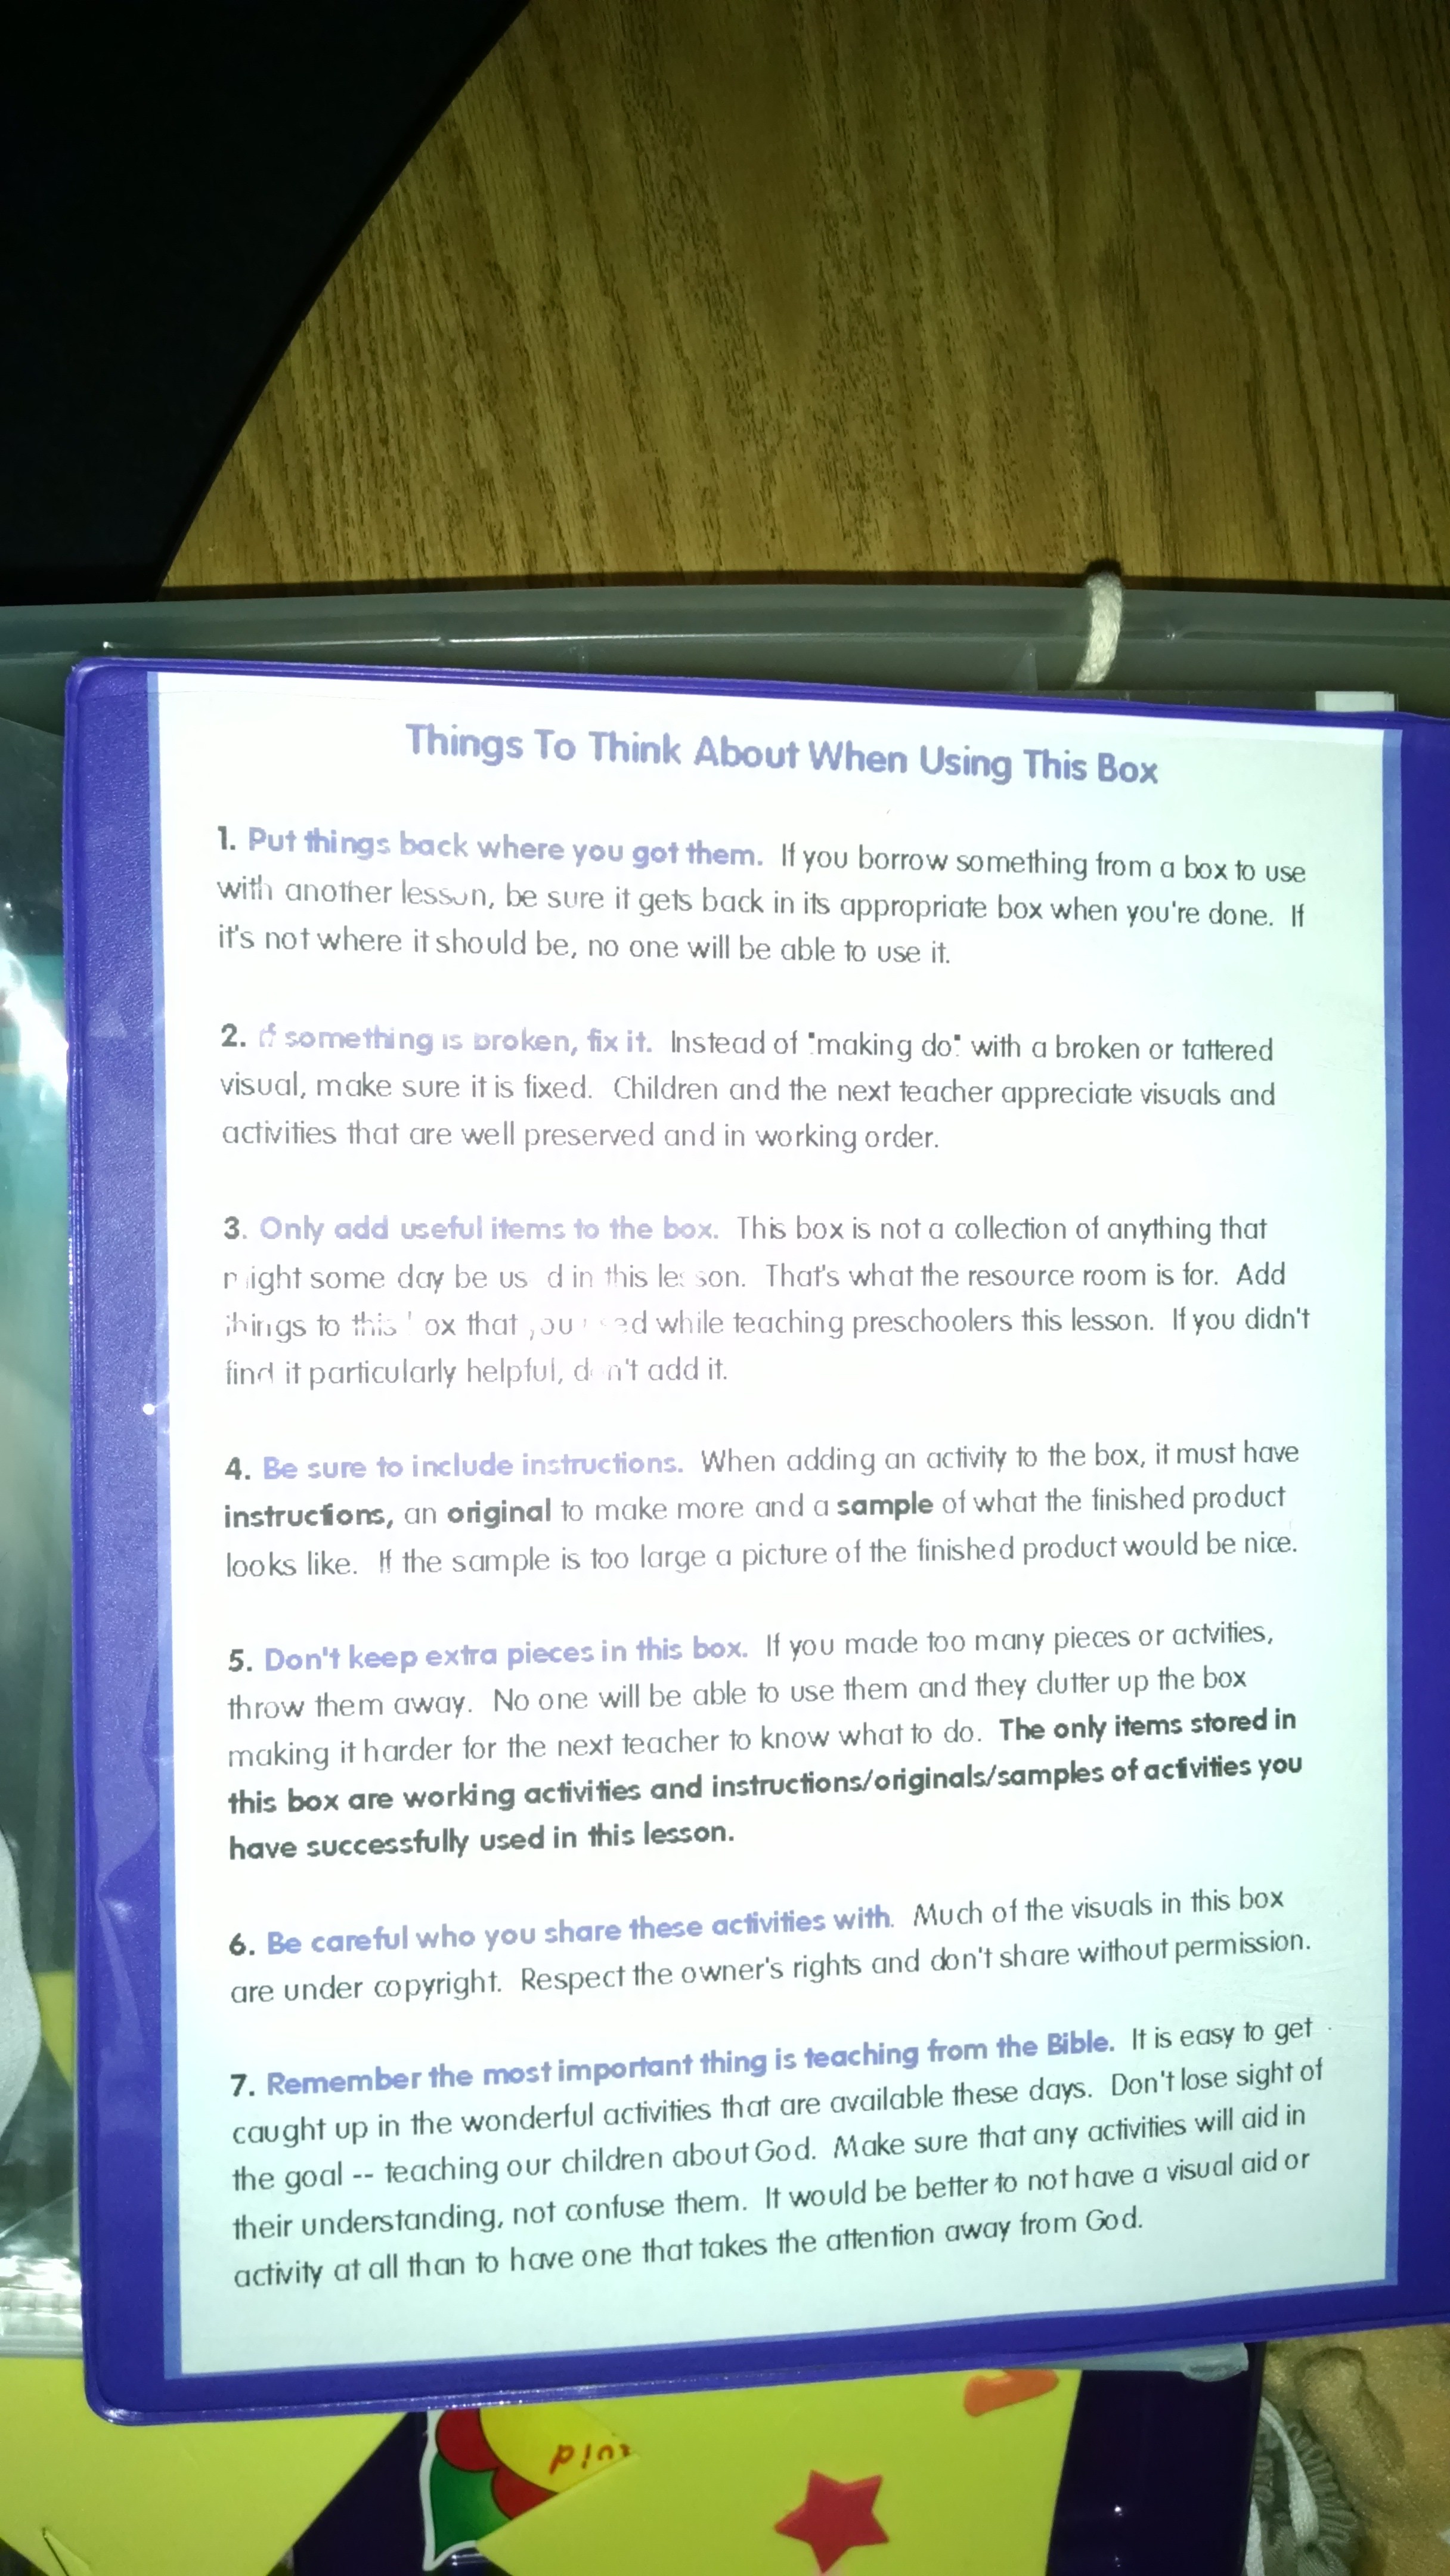
The back cover has some basic instructions for using the boxes and teaching the lessons. The same instruction sheet is in each notebook. It’s always helpful to leave plenty of information for the next to teacher to read. She can use it if she likes or not, but at least she knows what the original intent was.
Various flip charts are stored in ziploc baggies and labeled. I always try to have at least one flip chart to help tell the story. This box has several flip charts. Flip charts that teach about the lives of the people during Bible times are very helpful. For instance, one about raising sheep goes very well with the story of David. Another source for visuals besides the Bible cards is Palma Smiley’s To Toddlers With Love. The top flip chart in this picture is from that curriculum.

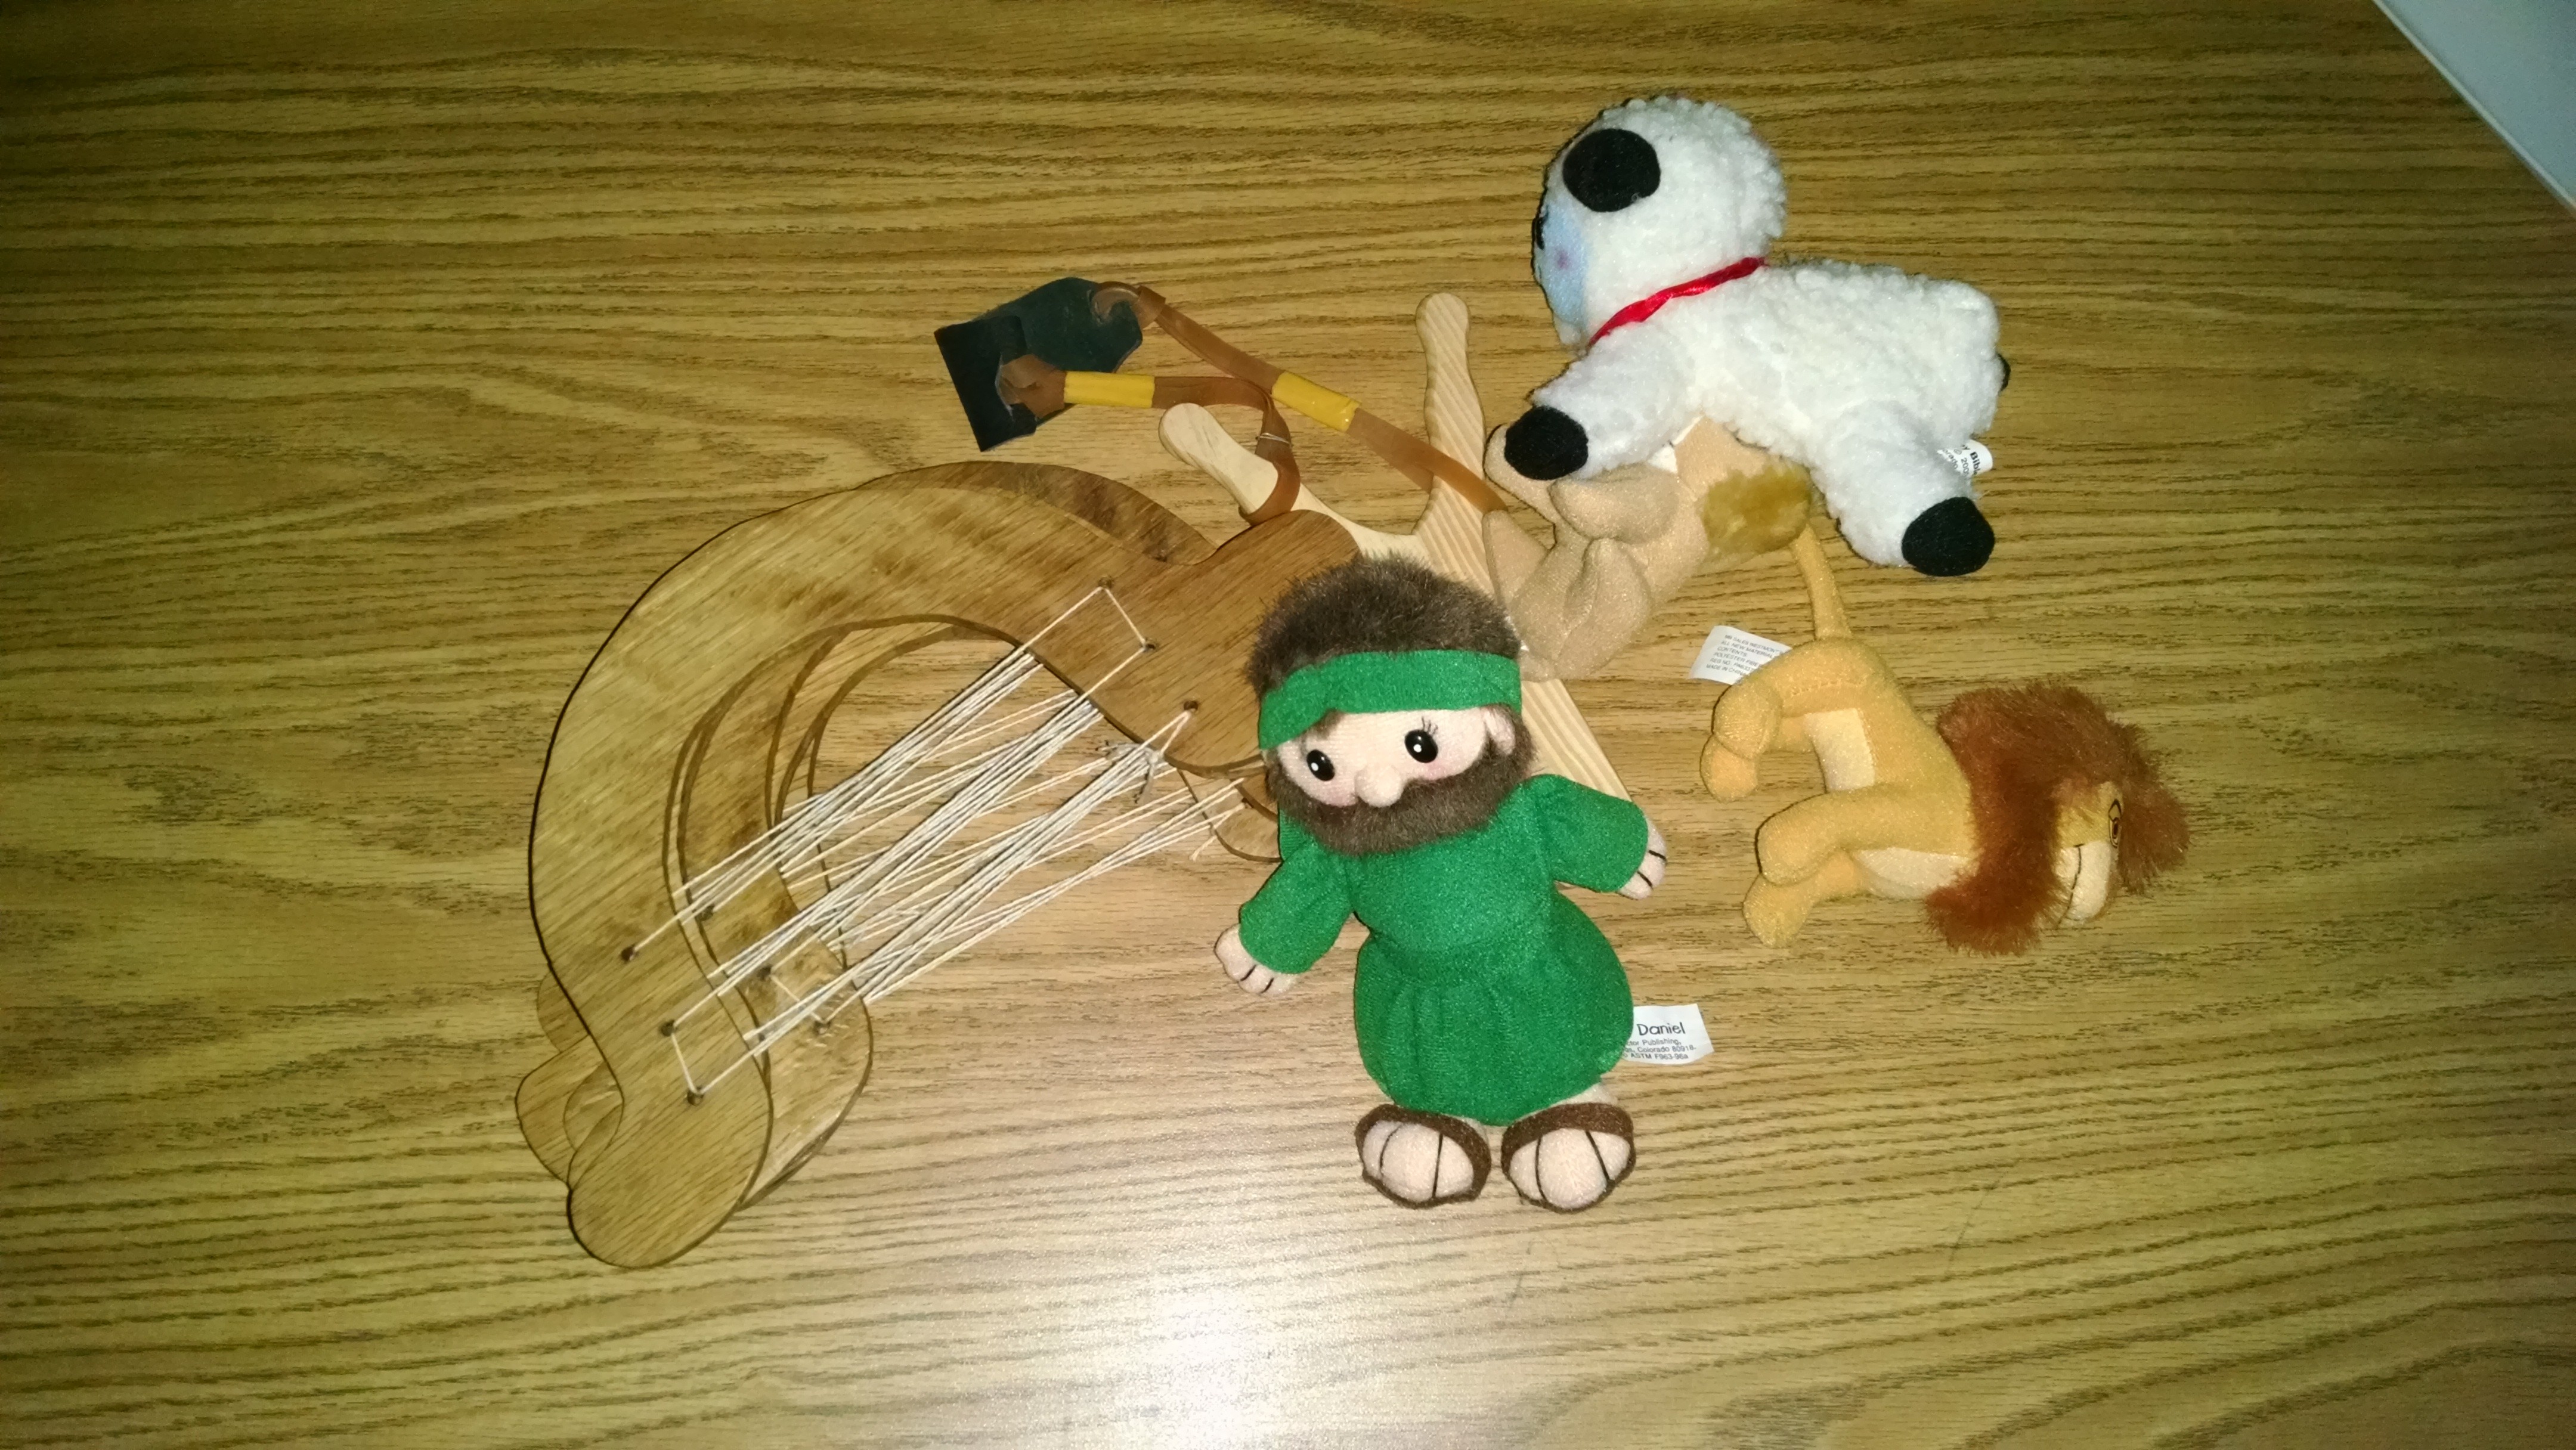
Appropriate toys are a great way to help teach the lesson. The sheep and the lions (I don’t have a realistic bear) help tell tell the story of God helping David kill the lion to protect his sheep. Finding appropriate toys is very important. A teddy bear would not be an appropriate toy to teach this lesson. I also try to be careful to make sure the toy does not come from some current popular TV show or movie. For instance, when teaching about Creation I would stay away from Dory or Nemo toys that are so easy to find. While you’re talking about Creation, the student is thinking about the movie.
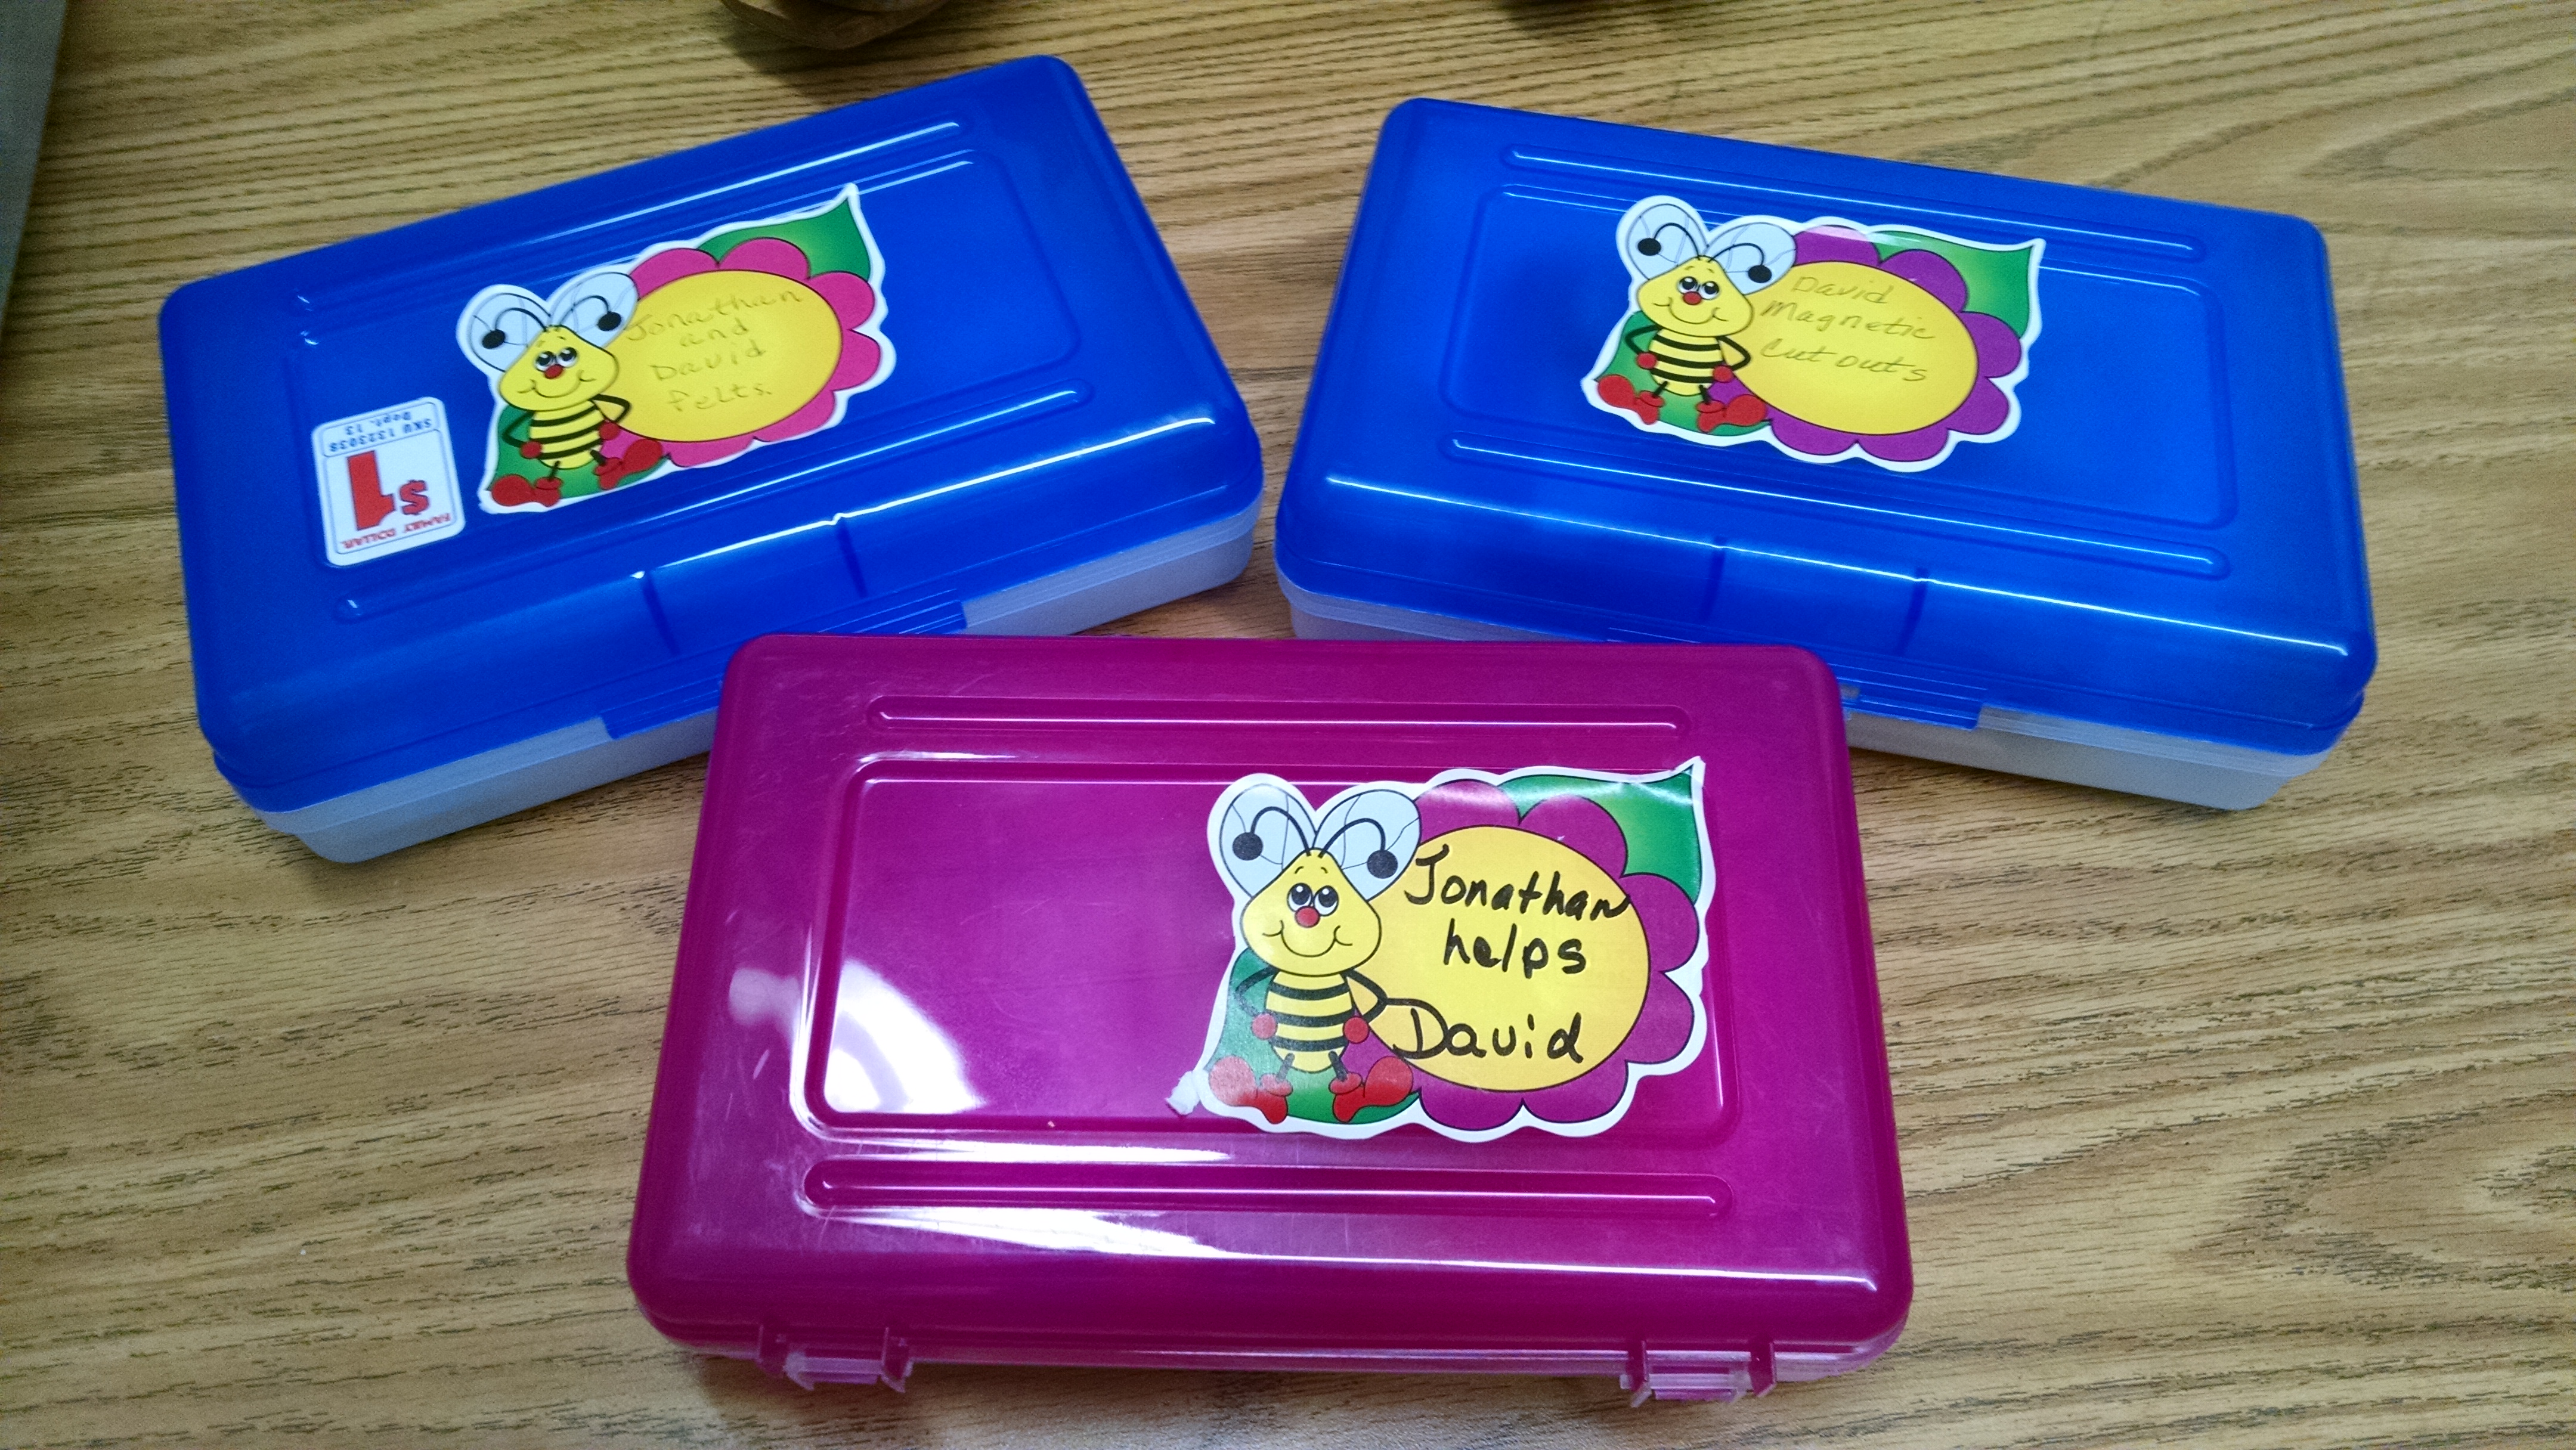
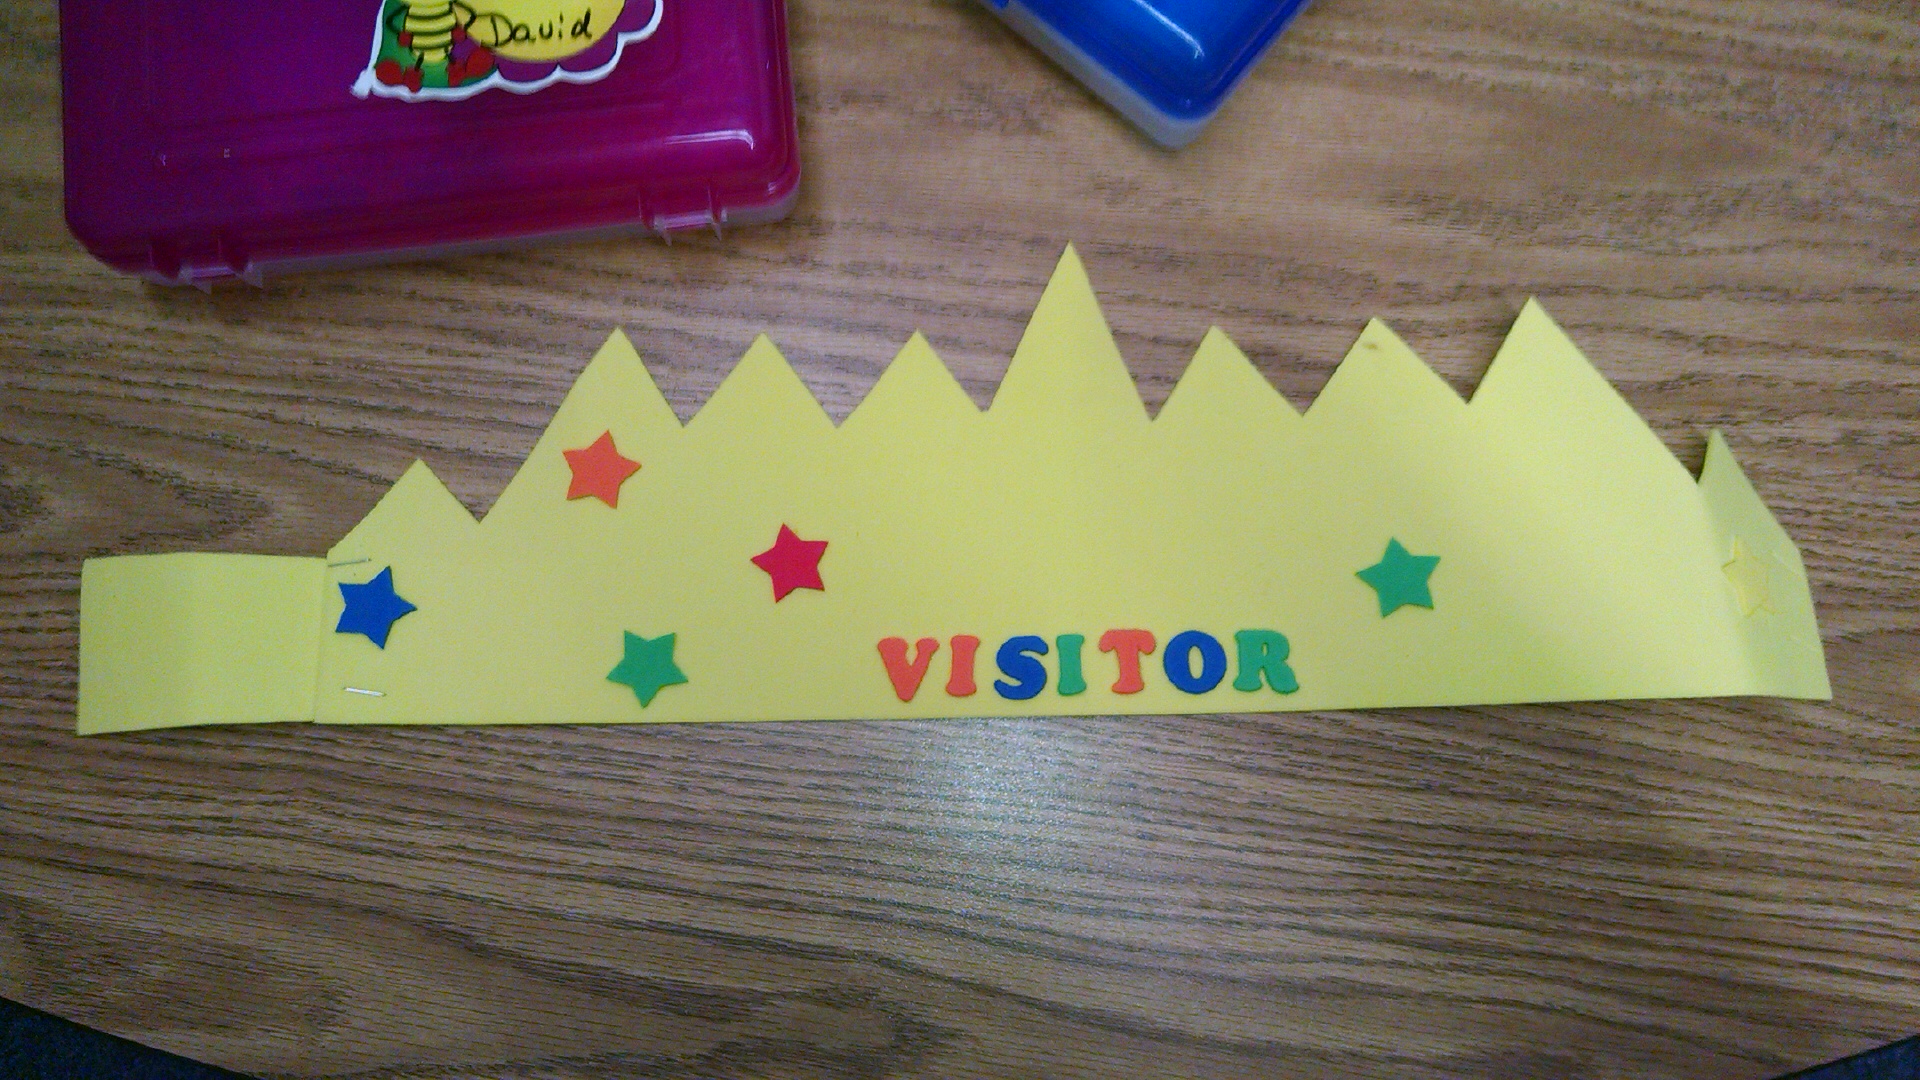
These inexpensive pencil boxes you can find in abundance at the back to school sales are great for storing the magnetic puzzles and flannel graph pictures. Each individual puzzle or flannel graph picture set is stored in a snack baggie. Label them to keep things organized.
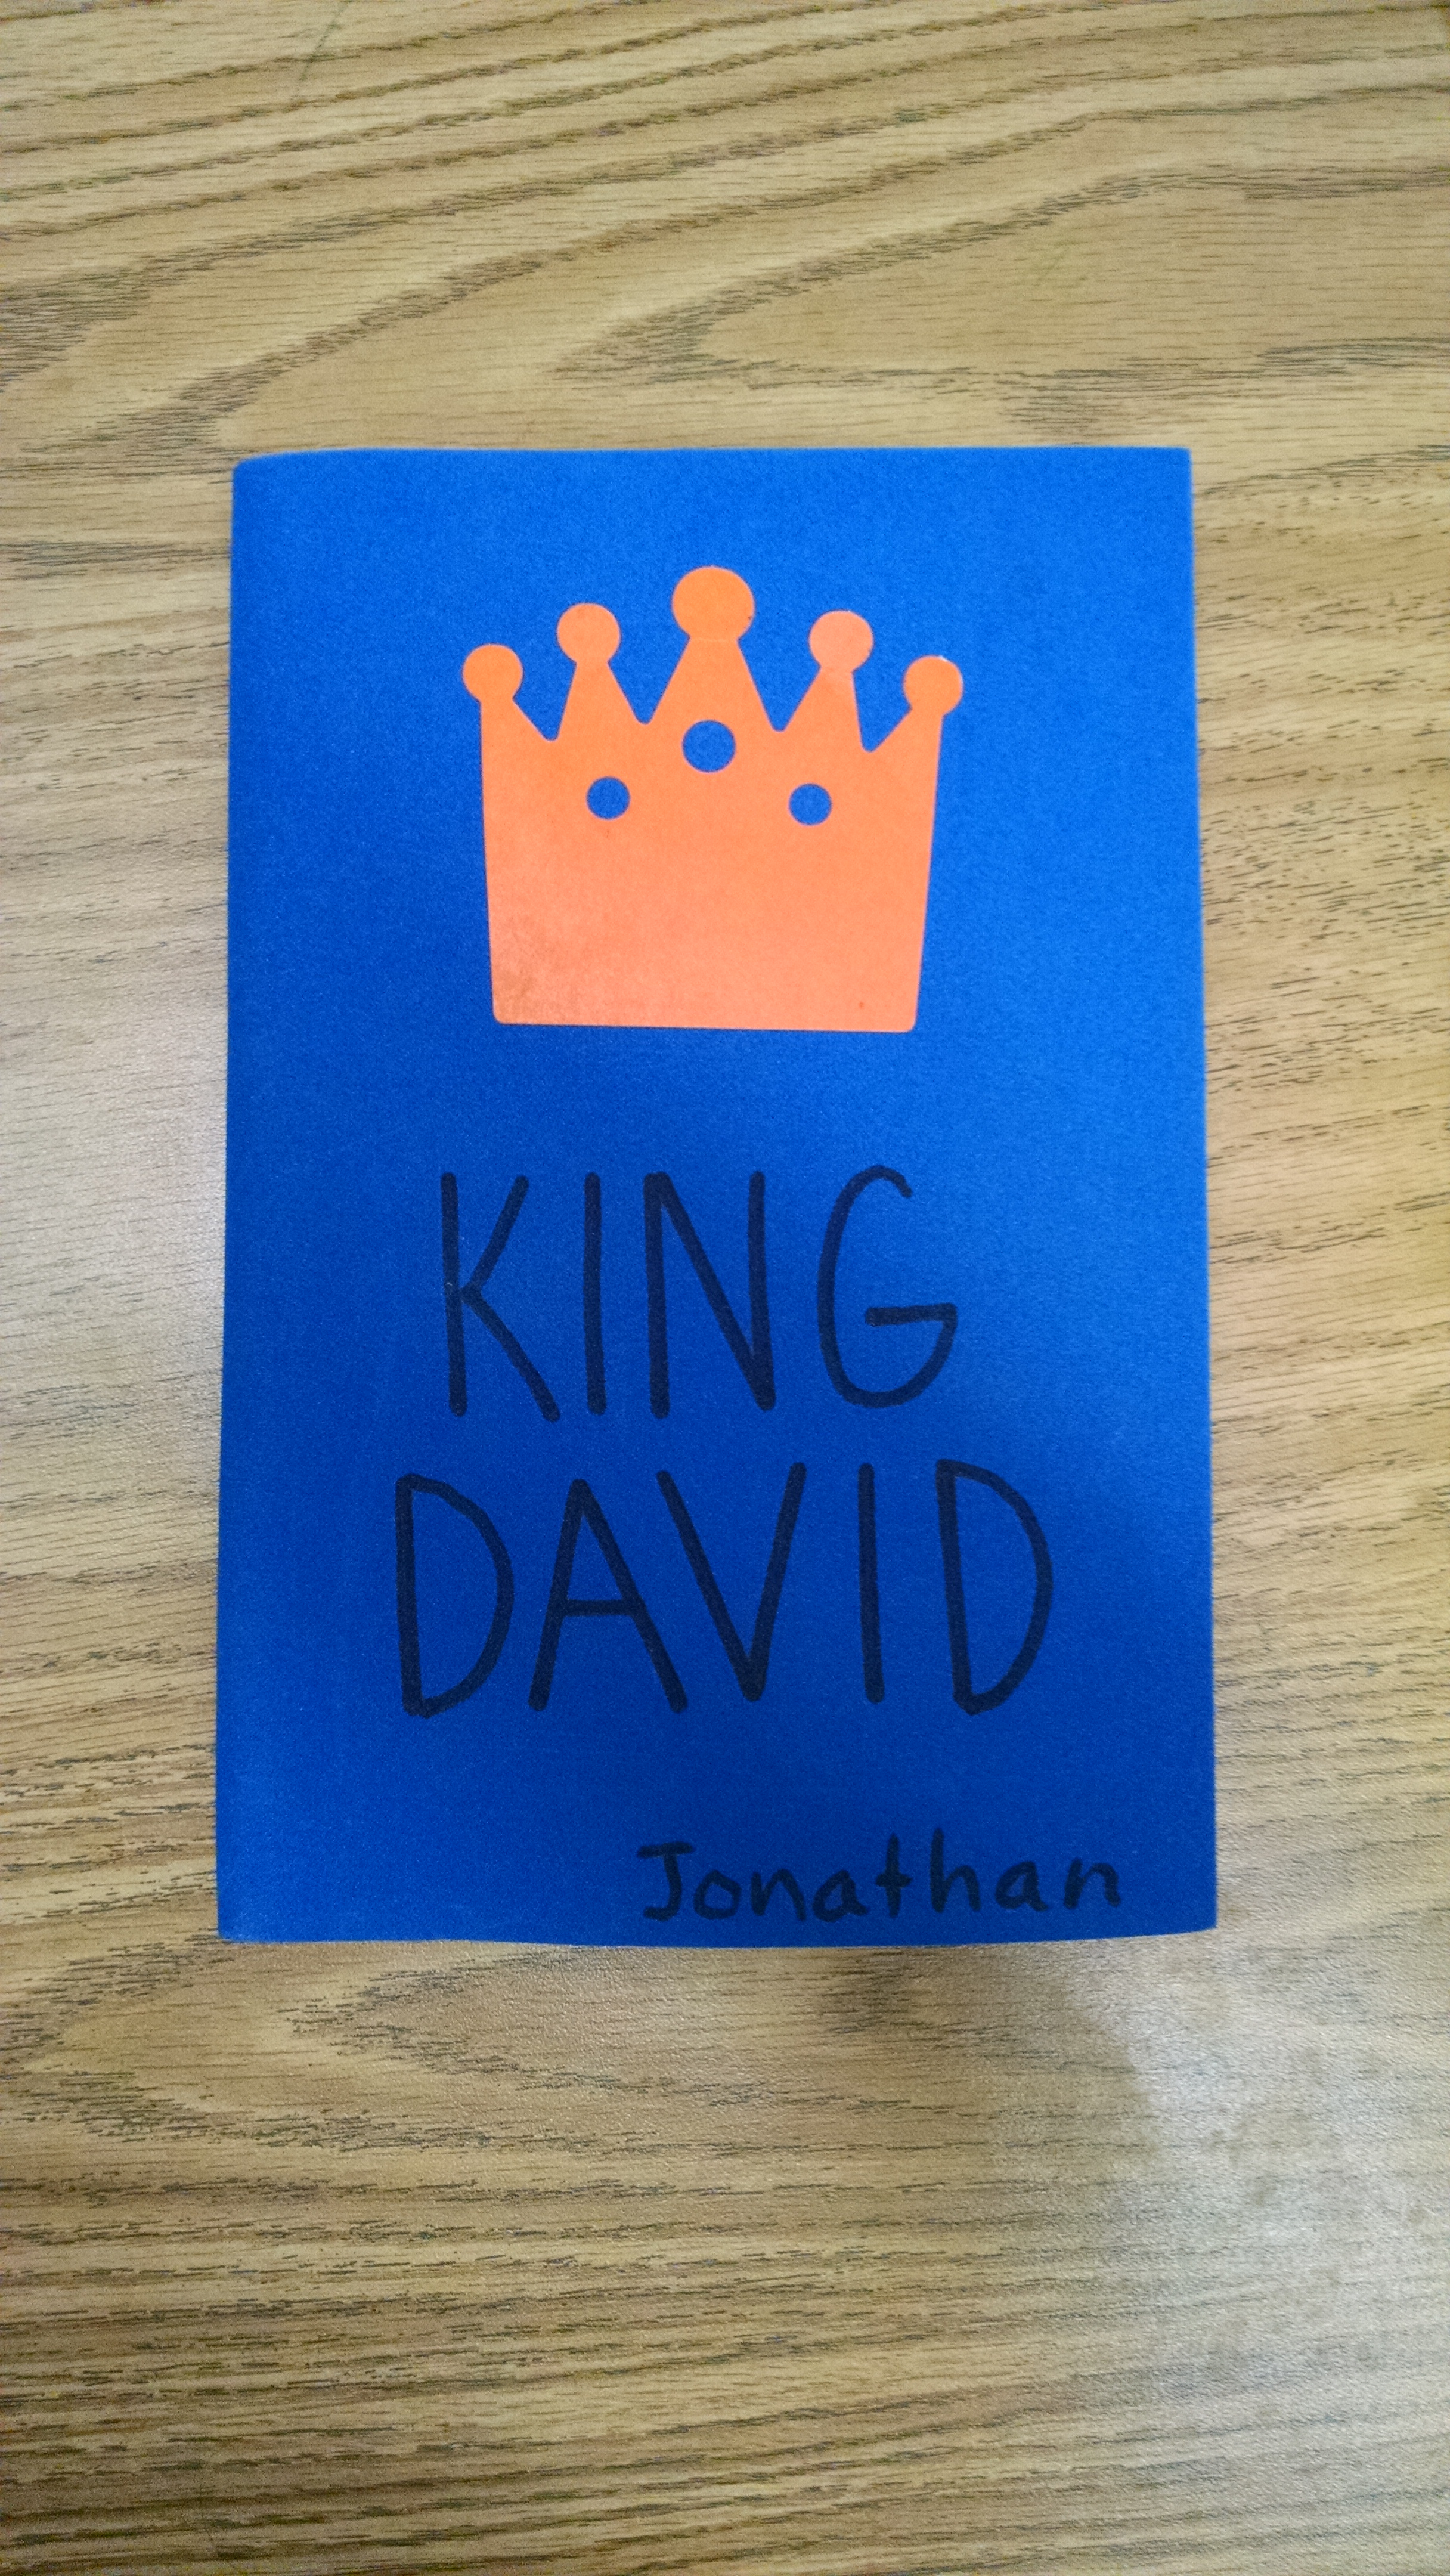
An example of a finished popup book is in the box as an example for the next teacher to follow. The masters to the book should be found in the notebook. While it is tempting to leave all the extra pieces from previous classes, I try not to do that. It’s easier for the next teacher to just make new copies or buy new extras to add to the pages. The saved ones will probably not get used and only clutter the boxes.
This is the attendance chart used while teaching David. Usually the attendance chart (both masters and a finished example) are stored in the notebook but since this one is an awkward size, it gets stored in the box itself.


Love all you do! Just one question….can you give some directions for making the pvc storage frame?? I have no experience with this type of material.
Thank you, Karen. I wish I had taken some close up pictures of this storage system before we moved. It is now 6 hours away from me. There are lots of pictures and instructions online. I got the idea from Pinterest. It’s just a matter of buying the right connectors, cutting the pipe to the size you need and putting it together like a giant Lego set. I’m sorry I can’t be more helpful.