

I hope the following tutorial on how to make pop-up books will help you recreate the pop-up books I have shared on this site. Even better, I hope that it will inspire you to create your own. I have learned to make pop-up books through trial an error although I have had some help from books that you might like to purchase. One is Joan Irvine’s How To Make Pop-ups. The other is Dinah Zike’s books that I talked about in a previous post.
Before you start complaining about the poor photography in this tutorial, just know that photography is not my thing. I did the best I could.
The great thing about pop-up books is how few supplies you need. Card stock, glue, paper cutter, scissors and other little things that your page may require like brads, velcro, netting, etc. The pop-up book below is made of very colorful paper so you can see the different parts more easily. Most of mine that I actually make for class use white card stock and a color printer/copier.
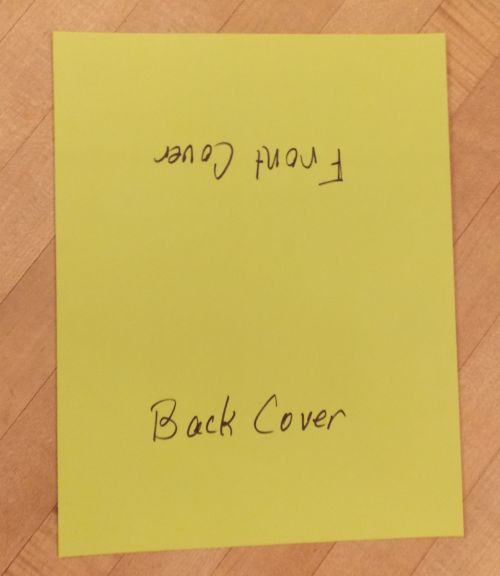
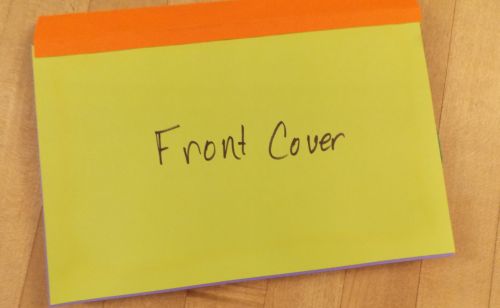
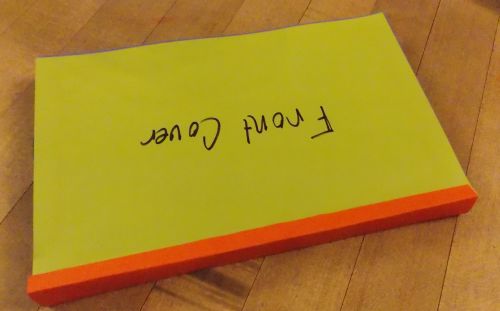
Start with a cover sheet. Front cover is printed on one half of regular 8 1/2″ X 11″ sheet of card stock. Back is printed upside on other half. Actually, whether it’s upside down or not doesn’t really matter because you will be cutting them apart but I still do it this way because that’s how to make a book cover.
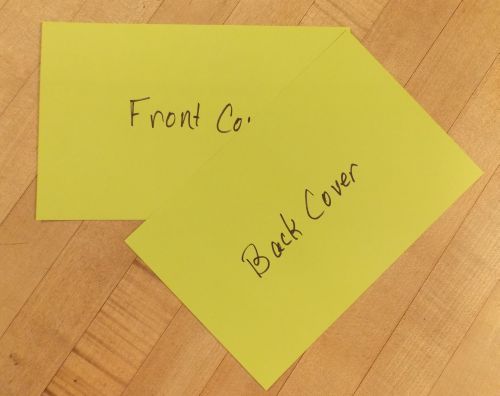
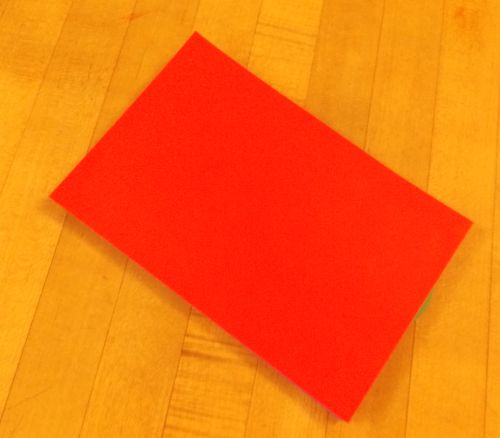
Cut paper in half, leaving 2 pieces — front cover and back cover.
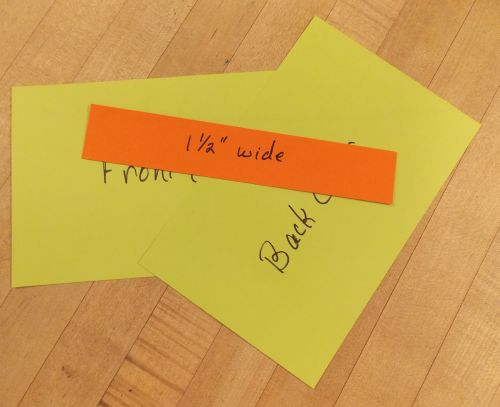
Cut strip from same color paper as covers that measures 1 1/2″ X 8 1/2″.
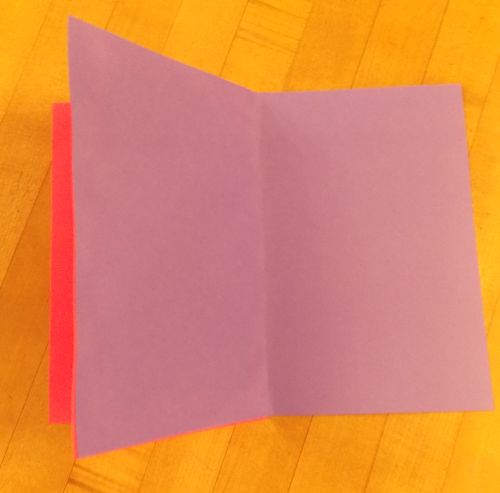
Pages will all start the same way — a folded piece of 8 1/2″ X 11″ card stock. After each page is completed, they will be glued together as shown. Lay a thin line of glue about 1/2″ from outer edge on all four sides.
Glue to the next completed page — as Dinah Zike says, “Side by side.” I give the children only 1 page to work on the first week. After class, I glue the page they completed during class to the page they will work on next time. When they come to class, they will have the page they completed last time and the new one to work on. This gives me an opportunity to review last week’s lesson and the children enjoy working with the page they already completed before finishing the new page.
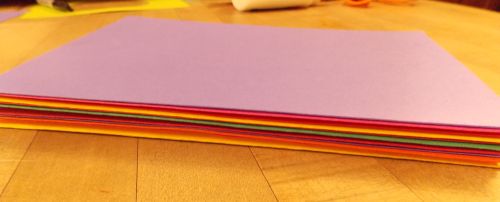
Continue adding pages before each class. You should have a stack that looks somewhat like this. When you add the last page, it’s time to complete the book and prepare it to go home with the students.
Glue the front and back covers to the front and back of the stack.
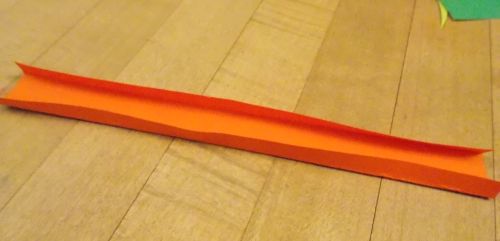
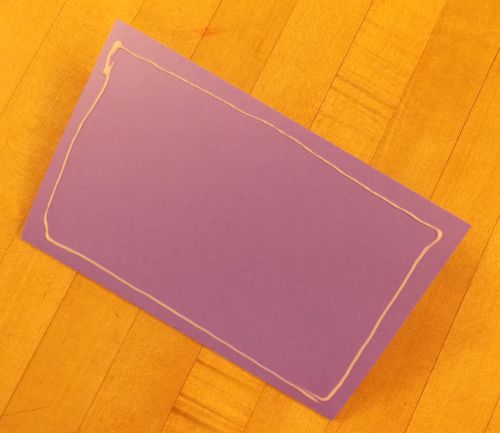
Fold the binding strip 1/4″ along both long edges.
Glue one long edge to the front cover.

It will look like this.
Glue the other long edge to the back cover. This strip encloses the edges of your book and makes a nice finished edge. You might need to lay something slightly heavy on the book to make sure the glued edges make good contact with the book.
Congratulations! You and your students have made a sturdy pop-up book that will be treasured for years to come.
Now for specific instructions about each type of page you might use.
Here is a link to a detailed pictorial tutorial on making the jail page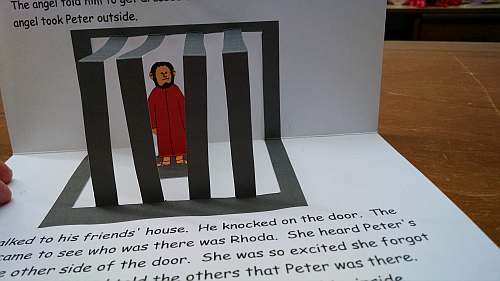
Flap Page: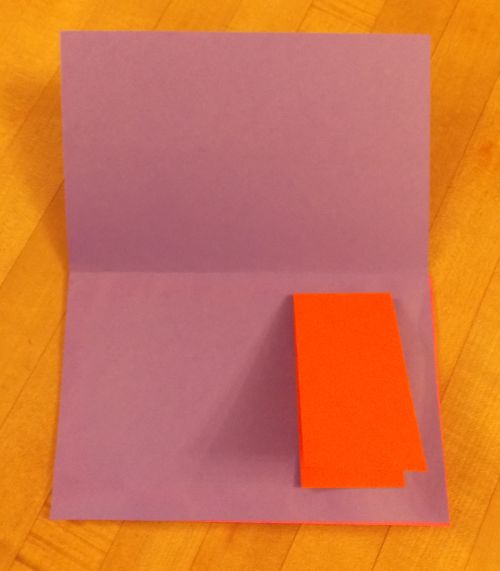
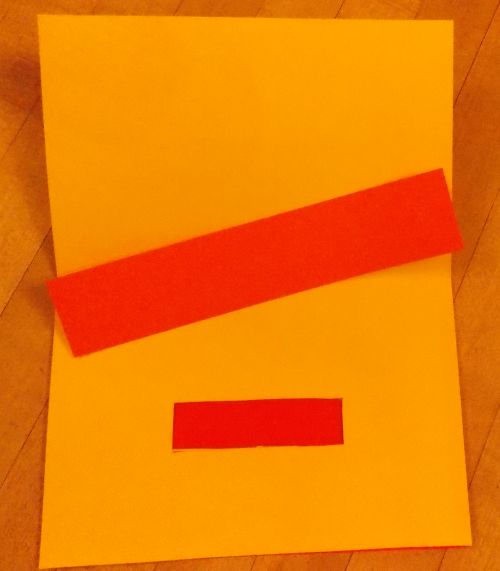
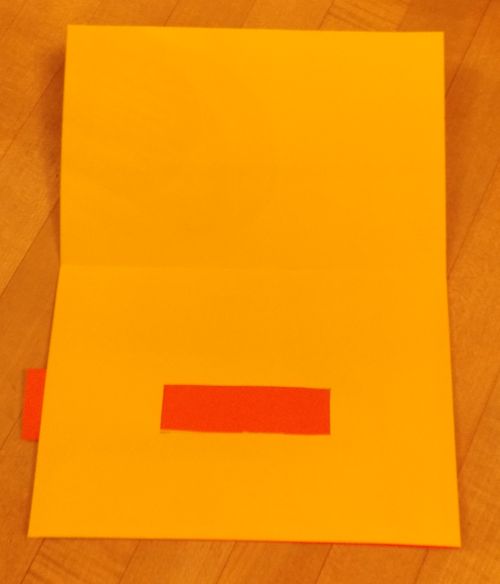
The flap page was used with the The Lost Coin and The Sower pages in the Parables Pop-up Book, as well as The Lame Man is Healed in the That You May Believe pop-up book. Cut a strip of paper twice as long as you need. Fold it in half. Glue it in place on the page.
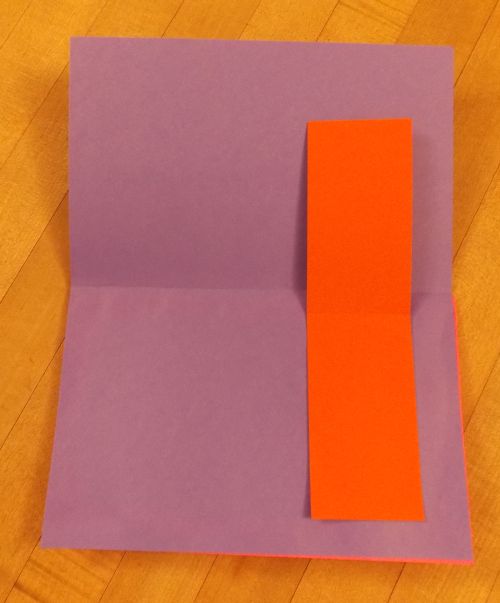
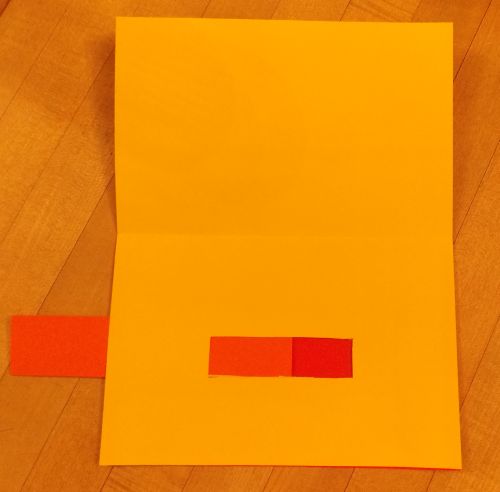
Lift the flap for another surface to help tell the story.
Wheel Page: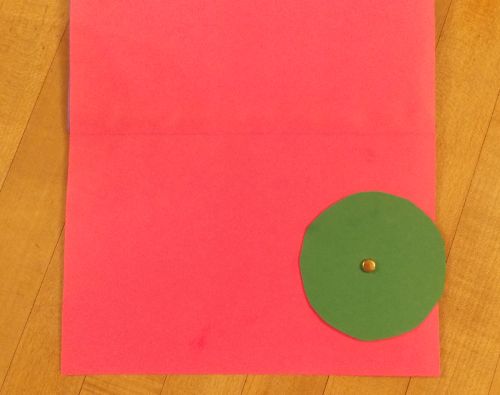
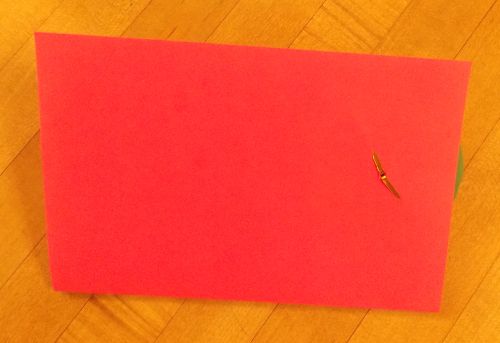
The wheel page was used in the Water To Wine page in the That You May Believe Pop-up book and the “believe” page in the Plan of Salvation Pop-up Book. Sometimes, it helps to have the wheel go “off” the page a little so little hands can turn it easily. Use a brad to attach the wheel wherever you would like on the page.
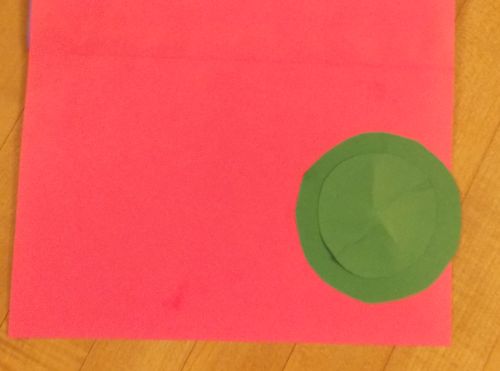
If, like me, you find the brad to be distracting from the page, you can cover it up with a circle of paper the same color as the wheel.
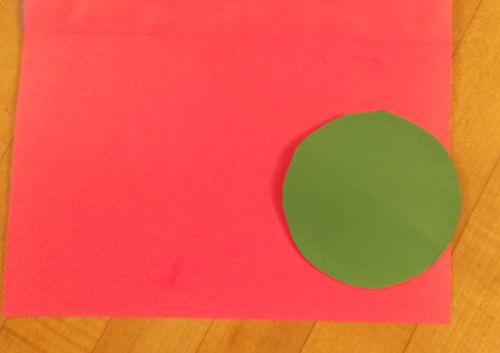
Or, you can cover the wheel entirely with a circle of paper the same size as the wheel. That’s what I did in the Water To Wine page of the That You May Believe pop-up book.
This is what the back of your page should look like. You don’t want to leave it this way because the brad might snag on the next page in the book.
Cut a piece of card stock in half and glue it to the back to cover the brad completely.
Hidden Wheel: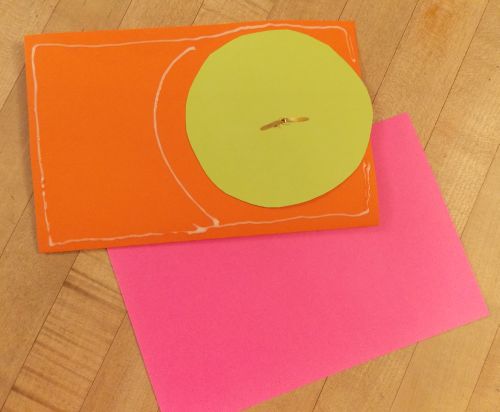
Sometimes, the wheel is underneath the page in the page as in the Lost Sheep page in the Parables Pop-up Book. This wheel should definitely go “off” the page a little or you won’t be able to turn it. The wheel will be attached to the a half sheet of card stock that will then be glued to the back of the pop-up page. After attaching the wheel with a brad, lay a line of glue 1/2″ from outer edge and near the wheel — without touching it.
Cut a hole the size and shape you need in the proper location (this is where some trial and error comes in). Attach the half page with wheel attached to the back. Your page should now have a freely spinning wheel that can display pictures in the “window”.
Pocket Page: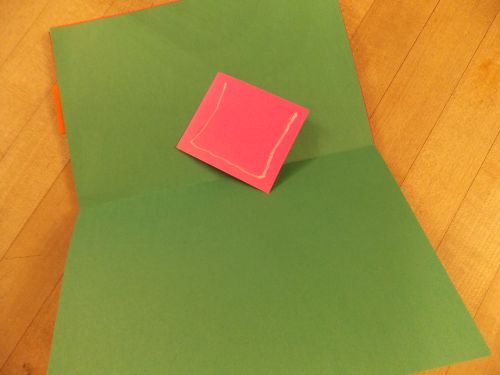
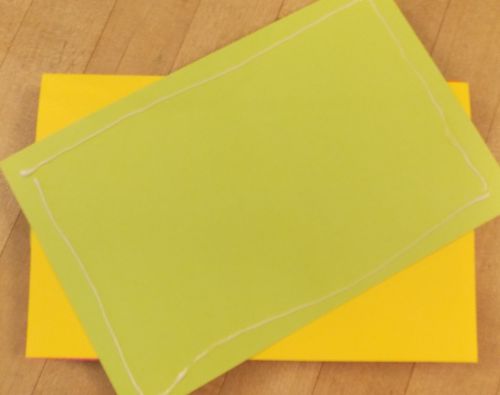
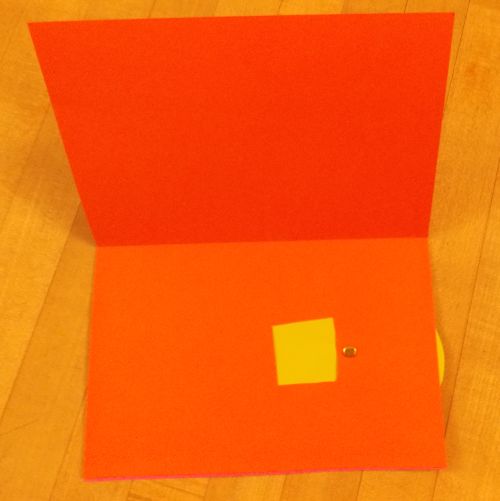
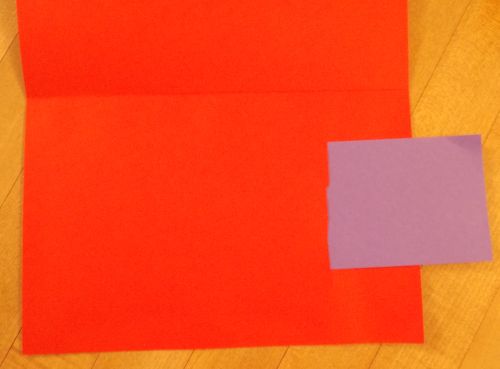
This is an easy one and has so many uses. It was used in the Good Fish/Bad Fish in the Parables pop-up book, and the “hear” page of the Plan of Salvation pop-up Book. Cut a piece of card stock the size the you need for a pocket and glue along 3 edges.
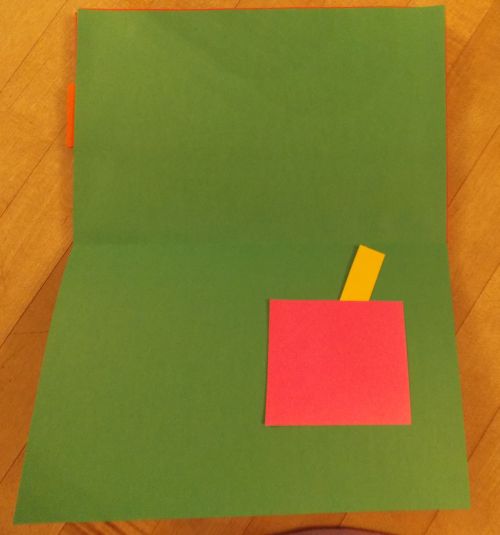
Place the pocket in the appropriate place on the page making sure the unglued edge is on the top. Now the student can store things in the pocket.
Slide page: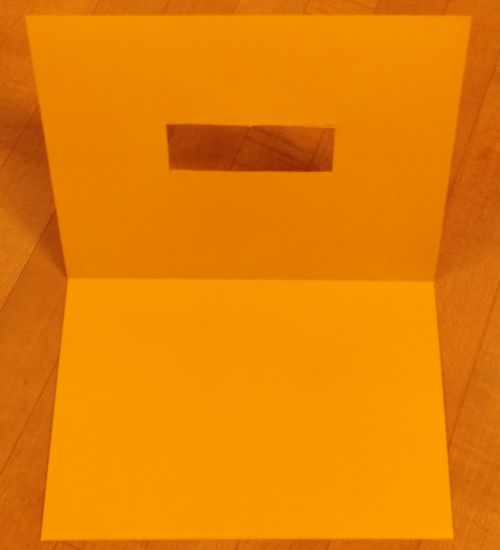
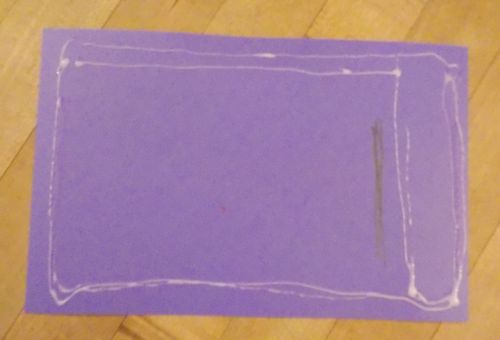
This page is a little tricky. You can see an example of it in the Blind Man Is Healed page in the That You May Believe Pop-up book as well as The Church Begins page in the Peter pop-up book. The key is to put glue in the right place and to laminate the slide. Start by cutting a hole or holes the appropriate size and shape on the pop-up page.
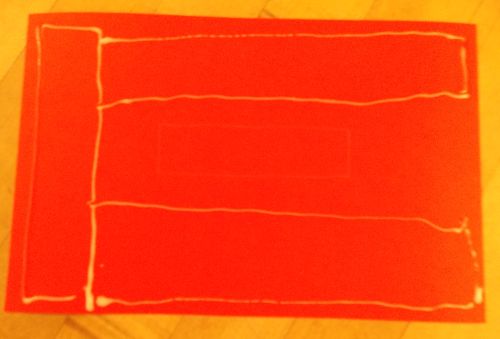
On a half sheet of card stock, trace the hole that was cut. Glue around the hole in such a way as to form guides for the slide . Don’t get to close to where the glide will be or it will be hard to slide in and out. Be sure to leave an unglued portion for the slide to fit in.
Either double the thickness or, better yet, laminate the slide you are going to use.
Slide the slide into the opening of the page.
It should go back and forth smoothly revealing a picture that helps the child understand the story.
Slot page:
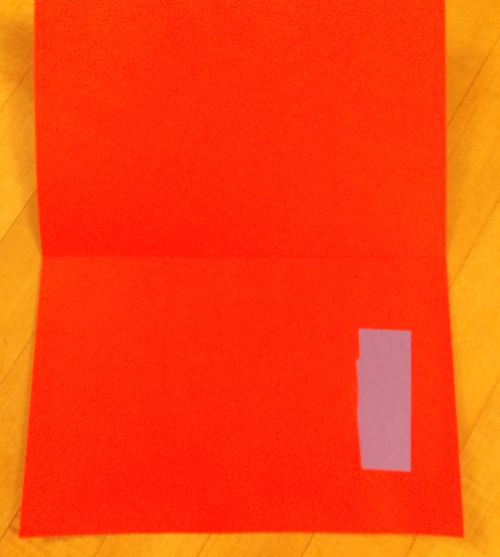
The slot page was used in mailbox page of Paul’s Pop-up book. This picture does not show it very well but it’s not hard to do. Using an x-acto knife, make a slit the length you need on the pop-up page.
Place a half page of card stock underneath the pop-up page and use a pencil to mark the slot on the half page. Glue around all four edges of the half page, creating guides for the paper to be inserted in the slot. Also glue fairly closely to the slot on the other side of the slot.
Attach the half page to the pop-up page. Insert paper or envelope or whatever it is you want in the slot.
It should come in and out fairly easily. If not, it might need to be laminated.
Snake page: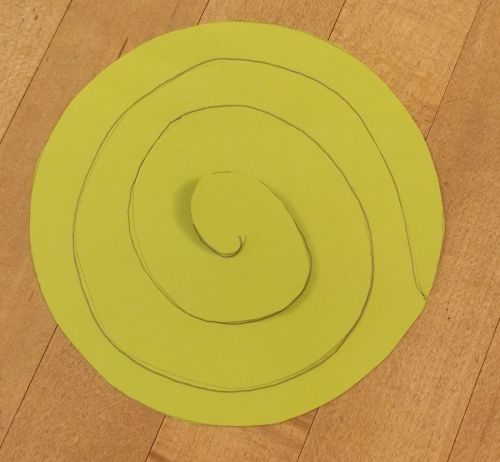
The snake page was used in the last page of Paul’s pop-up book. Start with a circle of paper. Cut about 1/2″ from the edge creating a spiral.
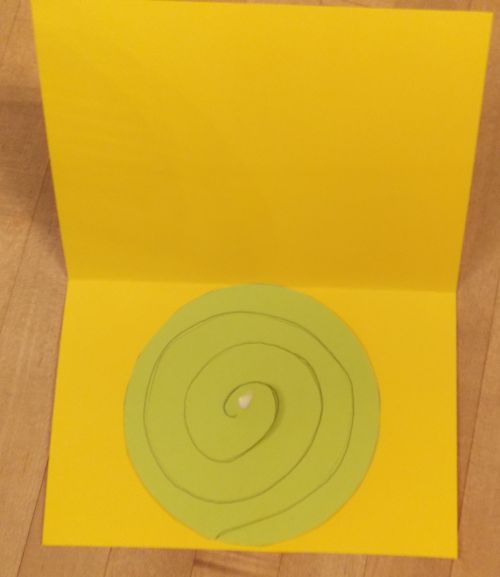
Lay the spiral on the bottom half of the pop-up page. Put a dot of glue on the outer tip of the spiral. If this is to be a snake the glue will go on the tip of the snake’s tail. Place another dot of glue on the center end of the spiral (snake’s head). Close the pop-up page and allow the glue to dry.
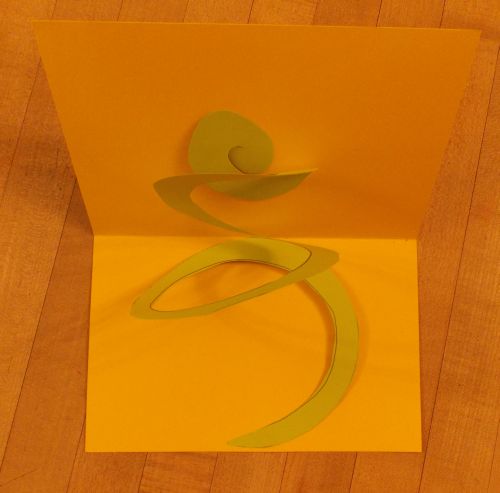
When the page is opened, both ends of the spiral will stick and it will not look like a snake.


You are so talented!!!!