

Several years ago, I was introduced to a wonderful book and soon after that was privileged to meet the sweet lady that wrote it. Her book changed the way I do a lot of things not only in Bible class but with my boys at home. The book is called Big Book of Books and the author is Dinah Zike. I loved her way of “dividing the data” and using little books to help the children organize information instead of worksheets.
Soon, she came out with another book — Big Book of Projects. This one took all the little books she introduced in the Big Book of Books and showed how to create a project that would be worthy of displaying to the grandparents as well as for the child to look at in years to come and be reminded of what they had learned.
One of the projects I have used again and again is a project folder. Now I know, a lot of folks call these lapbooks but I still call them project folders. They are basically the same thing. This page will show you the basics of making a project folder.
Once the skeleton is made, the possibilities for using them are endless. In the pictures below, I have used contrasting colors of paper so you can see each of the parts of the project folder easily. When making your own, you’ll want to use either the same color or coordinating colors. This project folder has two openings or flaps and two pockets. You can tailor yours to your specific needs. You might just want one opening and no pockets or two openings and one pocket, etc.
Supplies needed: Colorful file folder 2 sheets of colorful paper 2 sheets of colorful cardstock Glue Here we go: The basis of a project folder is a colorful file folder. Any color will work — even plain old manila folders. 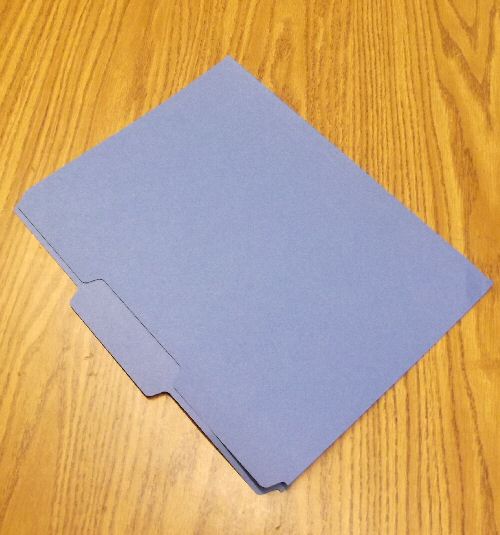 ‘
‘
Open file folder. 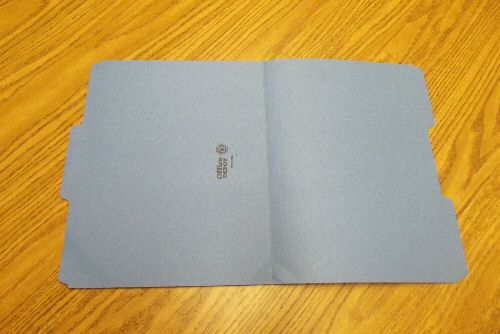 Fold one side so the edge touches the center fold.
 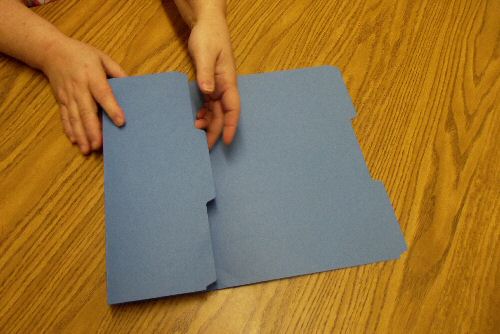 Do the same with the other side.
 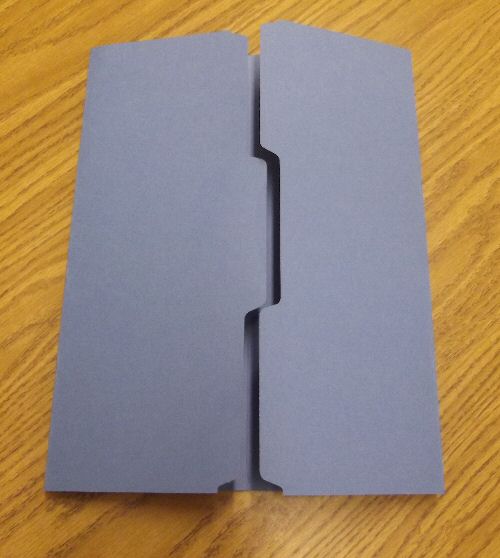 If you’d like, you can stop here and use this very basic project folder skeleton to hold up to 8 booklets.
 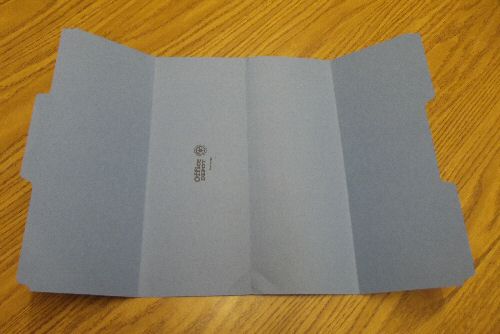 If you’d like a more involved project folder — continue… Here’s where you will use your 2 sheets of colored paper.
 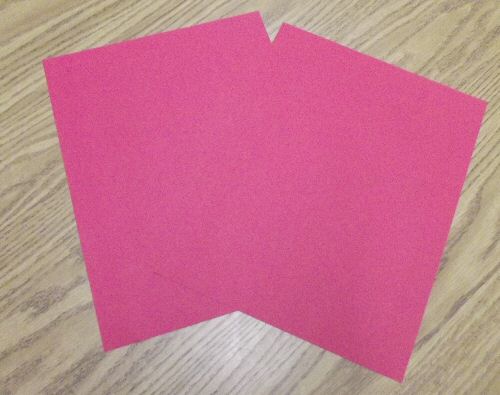 Fold one in half hotdog style.
  Glue all four sides with a thin stream of glue. Too much glue will cause the paper to buckle.
 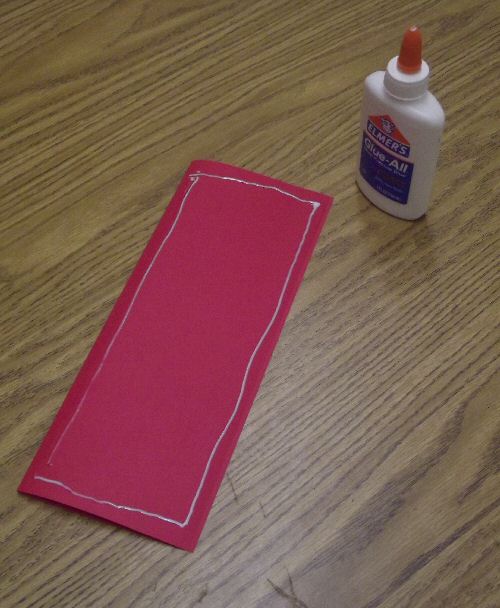 Place folded paper, glue side down, on left side of center portion of project folder. The fold should be on the left.
 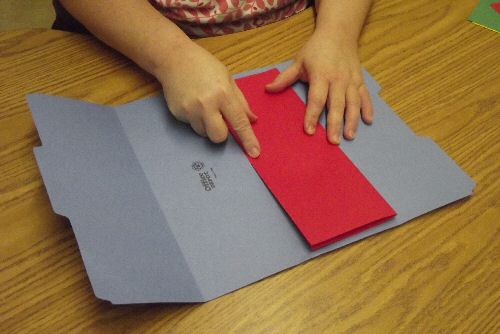 Do the same with the other piece of paper and glue it down on the other side but this time, with the fold on the right.
 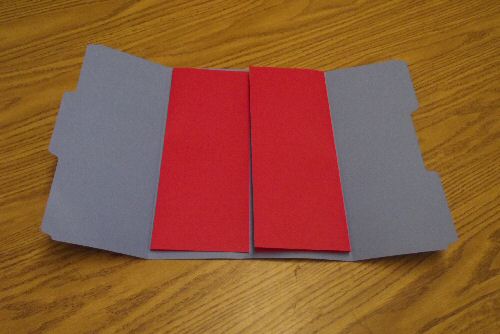 Now you have the 2 openings or flaps mentioned earlier. As they are in the picture above, there is room for 8 small booklets or a variety of small booklets and long booklets. Open the 2 flaps to see the 2nd opening where you can put an additional 8 small booklets or a variety of different sizes.
  You can stop here but I’ve found it helpful to have a pocket to hold smaller items or items that I don’t really want to include in the project folder itself. This is where the 2 sheets of cardstock come in.
 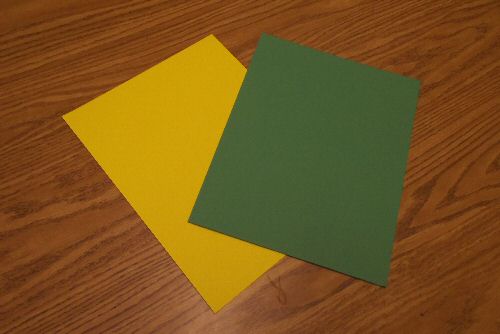 A pocket is made by gluing 3 sides. Glue the 2 sides and bottom with a thin stream of glue. Be sure to leave the top unglued so there will be an opening for the pocket.
 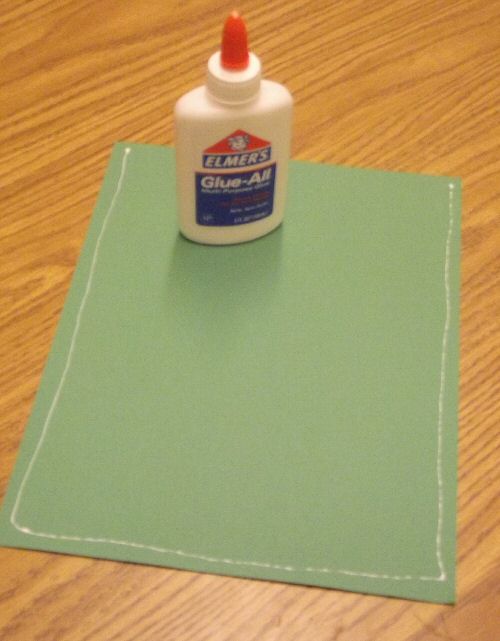 This pocket will go in the center of the 2nd opening. Open the flaps and glue the colored cardstock in the center.
 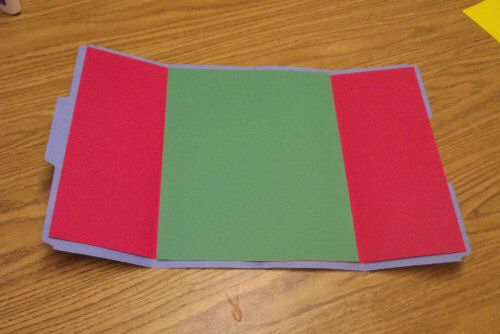 You can see the 2 flaps and the pocket. You now have spaces to put up at least 14 activities.
 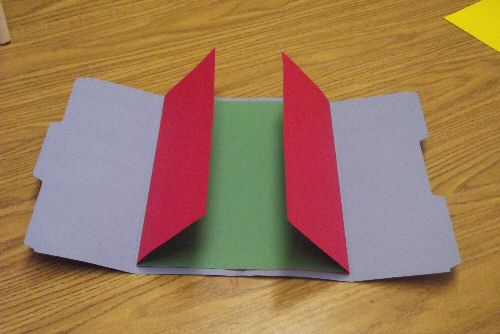 Again, you can stop here but if you’d like a 2nd pocket, it will go on the back. Glue 3 sides of the other piece of cardstock like you did for the inside pocket. Remember to keep the top side unglued so there will be an opening for the pocket.
 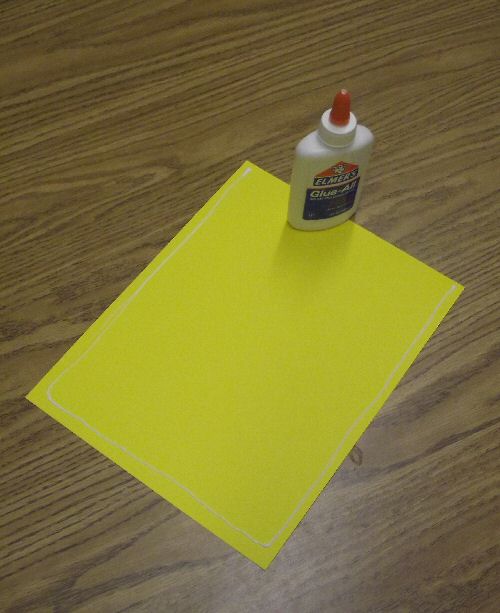 Glue to the back of the project folder.
 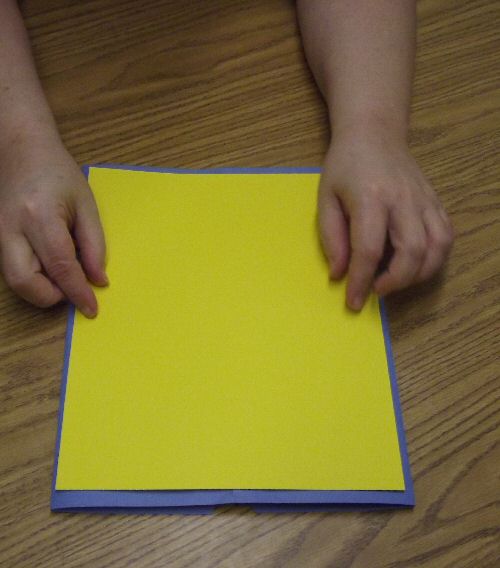 Now you’re ready to start adding fun, educational things to your project folder. I’d like to show you how I decorate the front of the project folder. The following pictures are of a project folder that I am currently working on. You can do a couple of different things here. You can let the child decorate the front of his project folder. He can glue on appropriate pictures or use markers to decorate. Or, you could do it for him. What I like to do takes a little of the creativity away from the child but it also looks fairly professional. I create a cover using PrintMaster (my favorite design software). It can be anything that will fit on a single sheet of copy paper.
 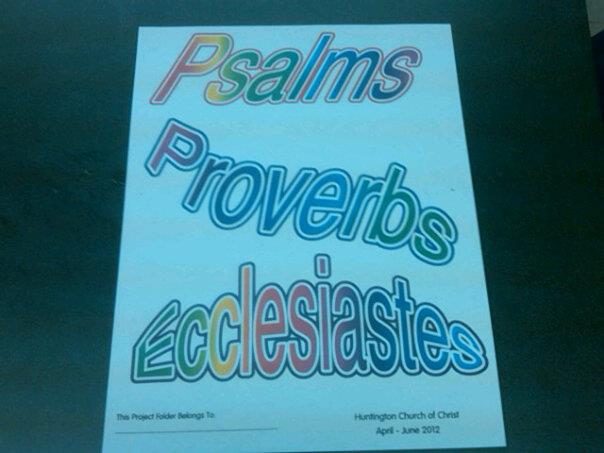 The next step is to glue this cover on the folder. Using plain old Elmer’s, outline the two flaps of the project folder with a thin line of glue. I’m sure you’ll do a better job than I did here. My glue bottle was not behaving and it wouldn’t come out easily. I will pick up more glue the next time at the store.
 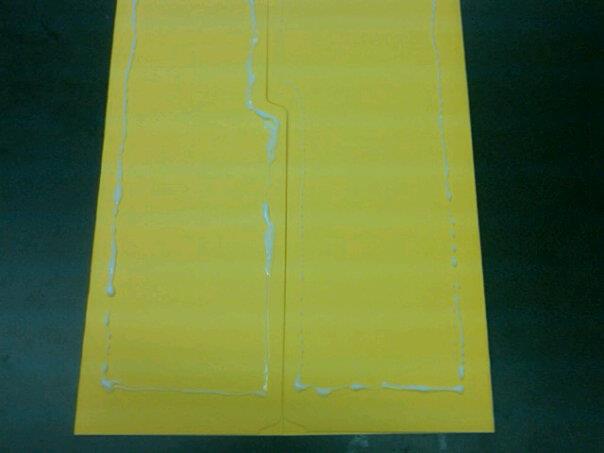 Place the cover sheet on top of the glued folder flaps. Do your best to line it up square on the page but if your off a little, it will be fine. After the glue has dried a little, cut down the middle following the opening created by the flaps. This can be a little tricky around the tabs. Sometimes, if I think about it, I use an exacto blade but the scissors work fine.
 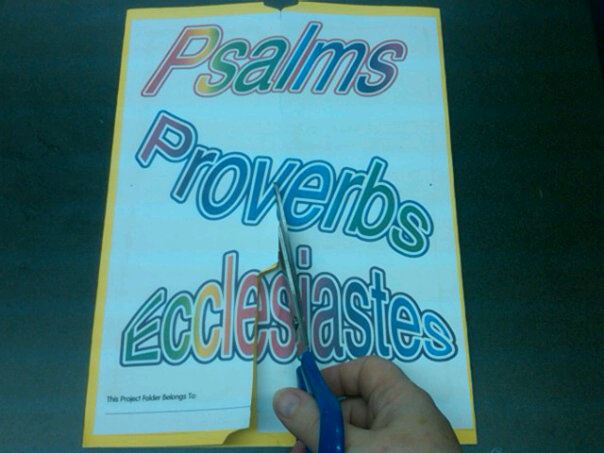 That’s it. You’ve got a beautiful cover for your project folder. All it needs now is fun stuff to go on the inside.
 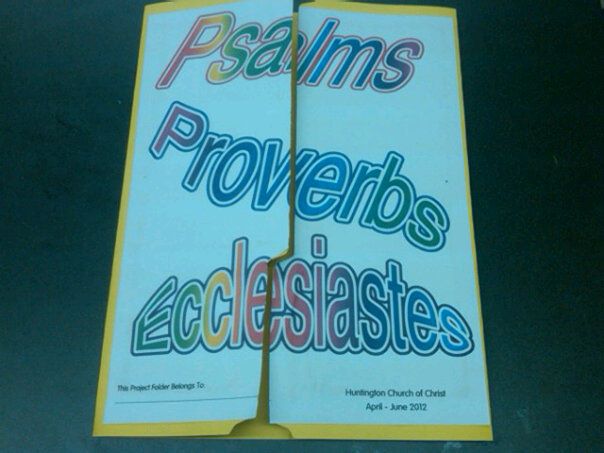 If you’re interested in how I have used project folders in my Bible class, check out these: New Testament Project Folders or look at project folders in the Activities tab above.


0 Comments
Trackbacks/Pingbacks